Last updated on 13/11/2021
This post will show you how to combine portal types and get a Blog on a Customer-Self service portal. By enabling the Blog feature on any portal type – and in so doing also show you how to combine features cross portal types. This might be the thing that has annoyed me the most about the Power Apps Portals product; the inability to combine portal types.
Be aware: This is not recommended for beginners. You should know your way around portals before doing this, and please try it out in a development environment before implementing it in production.
Video
One of my sessions at Power Apps Portals Zero to Hero was on this very topic. So if you are a visual learner then this video-walk-trough might be a better way to learn.
Portal Types Matrix
This matrix illustrates what features are included with each portal type:
| Feature | Customer self-service portal | Partner portal | Employee self-service portal | Community portal | Portal from blank | Common Data Service starter portal | Customer Portal (Preview) |
|---|---|---|---|---|---|---|---|
| World Ready | * | * | * | * | * | * | * |
| Multi-Language Support | * | * | * | * | * | * | * |
| Portal Administration | * | * | * | * | * | * | * |
| Customization and Extensibility | * | * | * | * | * | * | * |
| Theming | * | * | * | * | * | * | * |
| Content Management | * | * | * | ||||
| Knowledge Management | * | * | * | * | |||
| Support/Case Management | * | * | * | ||||
| Forums | * | * | * | ||||
| Faceted Search | * | * | |||||
| Profile Management | * | * | * | ||||
| Subscribe to Forum Thread | * | * | |||||
| Comments | * | * | * | ||||
| Azure AD Authentication | * | * | |||||
| Ideas | * | ||||||
| Blogs | * | ||||||
| Project Service Automation Integration | * | ||||||
| Field Service Integration | * | ||||||
| Partner Onboarding | * | ||||||
| Portal Base | * | * | * | * | * | * | * |
| Portal Workflows | * | * | * | * | * | * | * |
| Web Notifications | * | * | * | * | * | * | * |
| Microsoft Identity | * | * | * | * | * | * | * |
| Identity Workflows | * | * | * | * | * | * | * |
| Web Forms | * | * | * | * | * | * | * |
| Feedback | * | * | * | * | * | * | * |
The portal type with the most features is the Customer Self-Service Portal Type. It includes all features except Ideas, Blog and integration for Project Service Automation and Field Service. The Azure AD Authentication is included and works out of the box as in any other portal type.
Currently, there is no simple way to pick and choose the functionality you want in your portal, or to install all features on one portal. You choose one portal to install and that’s what you get. Or is there another way..?
A huge thank you to the one and only Nick Doelman who gave me the recipe and showed me the way, hold my hand and gave me confidence that it could be done.
Recipe on how to combine portal types
This is the shortlist on what we need to do:
- Create a primary portal – this is the portal we want to keep. I choose Customer Self-Service portal type for my primary portal
- Create a secondary portal that contain the feature we want to add to the primary portal. I choose Community Portal as it has the Blog feature I want.
- Locate and update all Portal Metadata related to Blog trough Portal Management App
- Clean up after yourself
Create a primary portal
This is the base portal – the one you want to keep. Follow the steps in MS documentation here: https://docs.microsoft.com/en-us/powerapps/maker/portals/create-dynamics-portal
Create the secondary portal
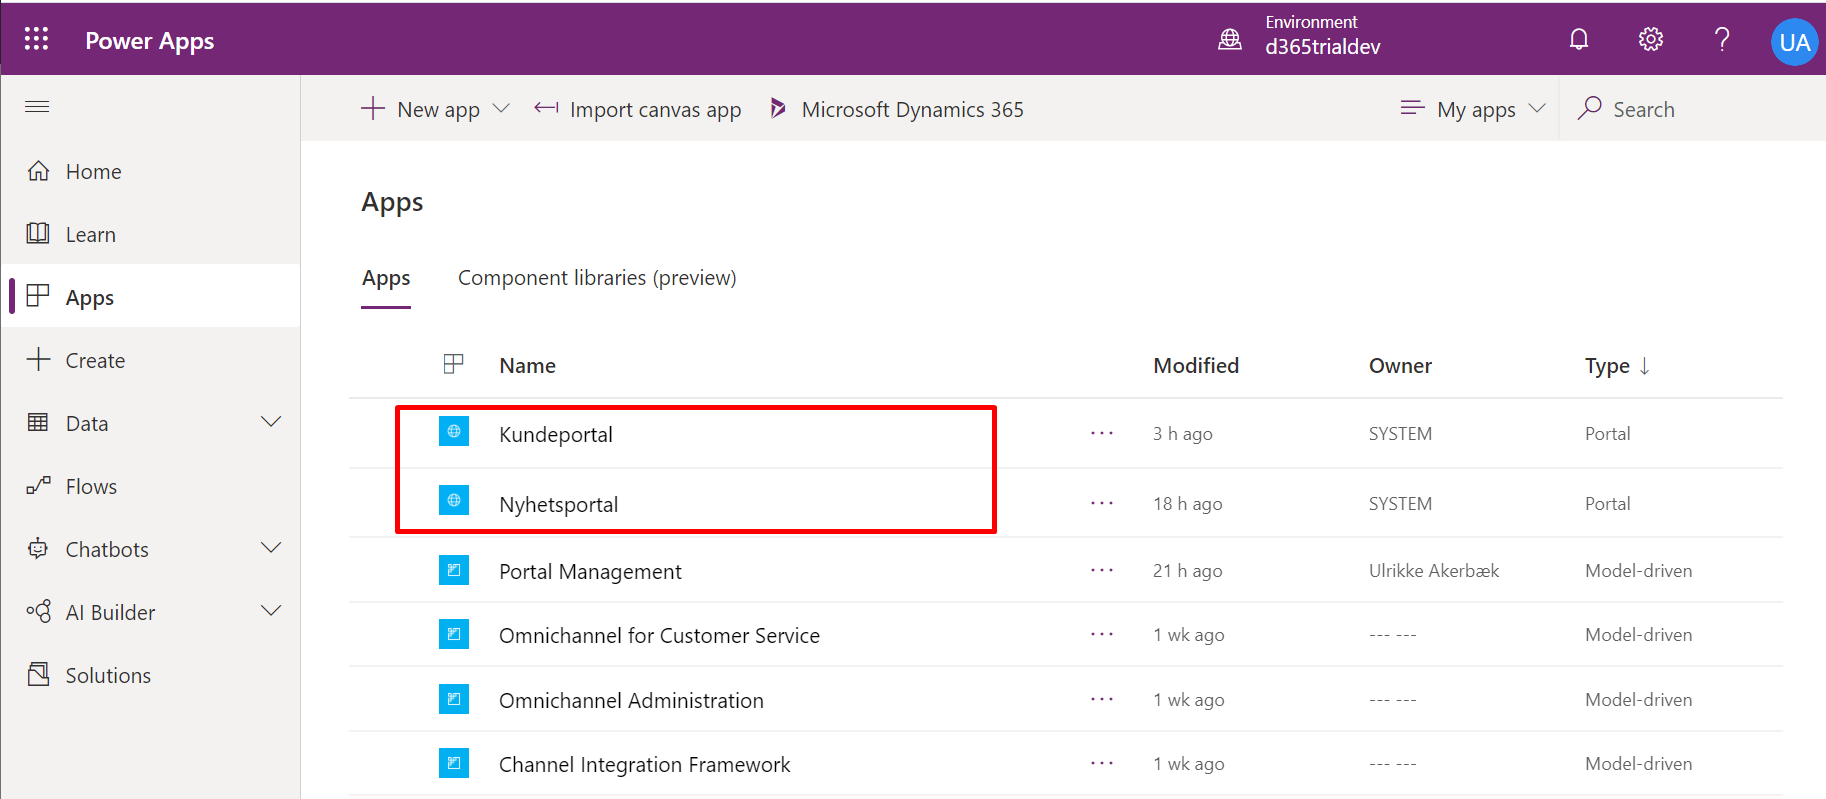
Choose the secondary portal you need by locating the feature you want in the portal type matrix. Go through the same steps as when you created the primary portal. You will end up with two portal apps that you’ll see at https://make.powerapps.com
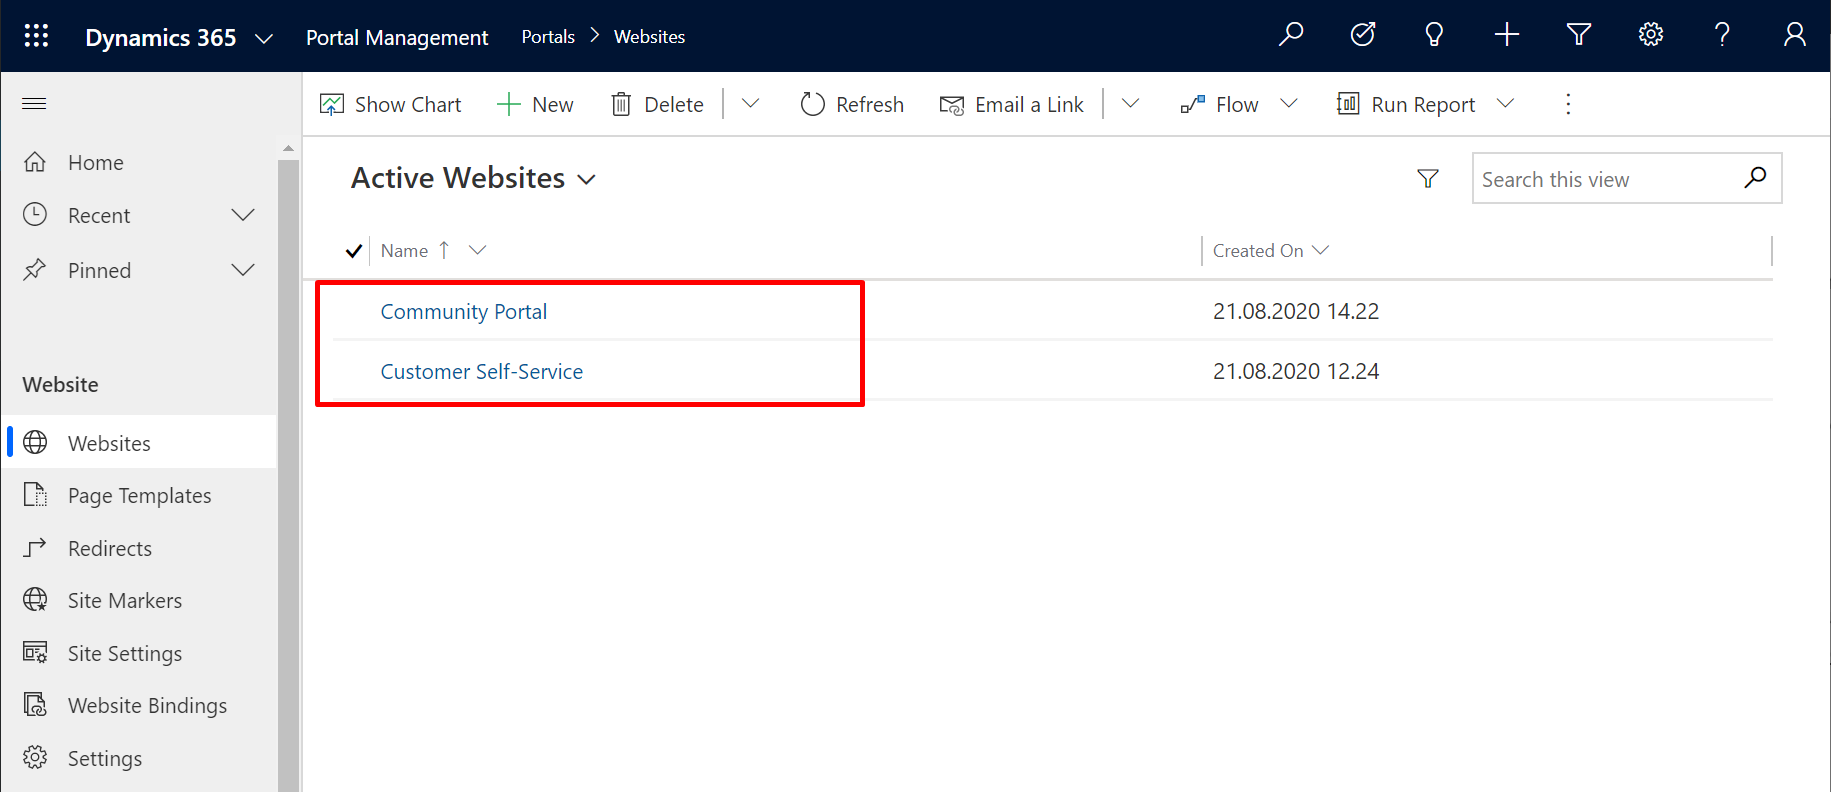
When you open the Portal Management App you’ll find two websites as well
Locate and update Portal Metadata related to the Blog feature
This is when the real work begins.
We will update all Portal Management components for the Blog feature and change the portal it’s related to from its original portal (Community Portal) to our primary portal (Customer Self-Service Portal). It might be a good idea to document all the changes you make along the way for future reference.
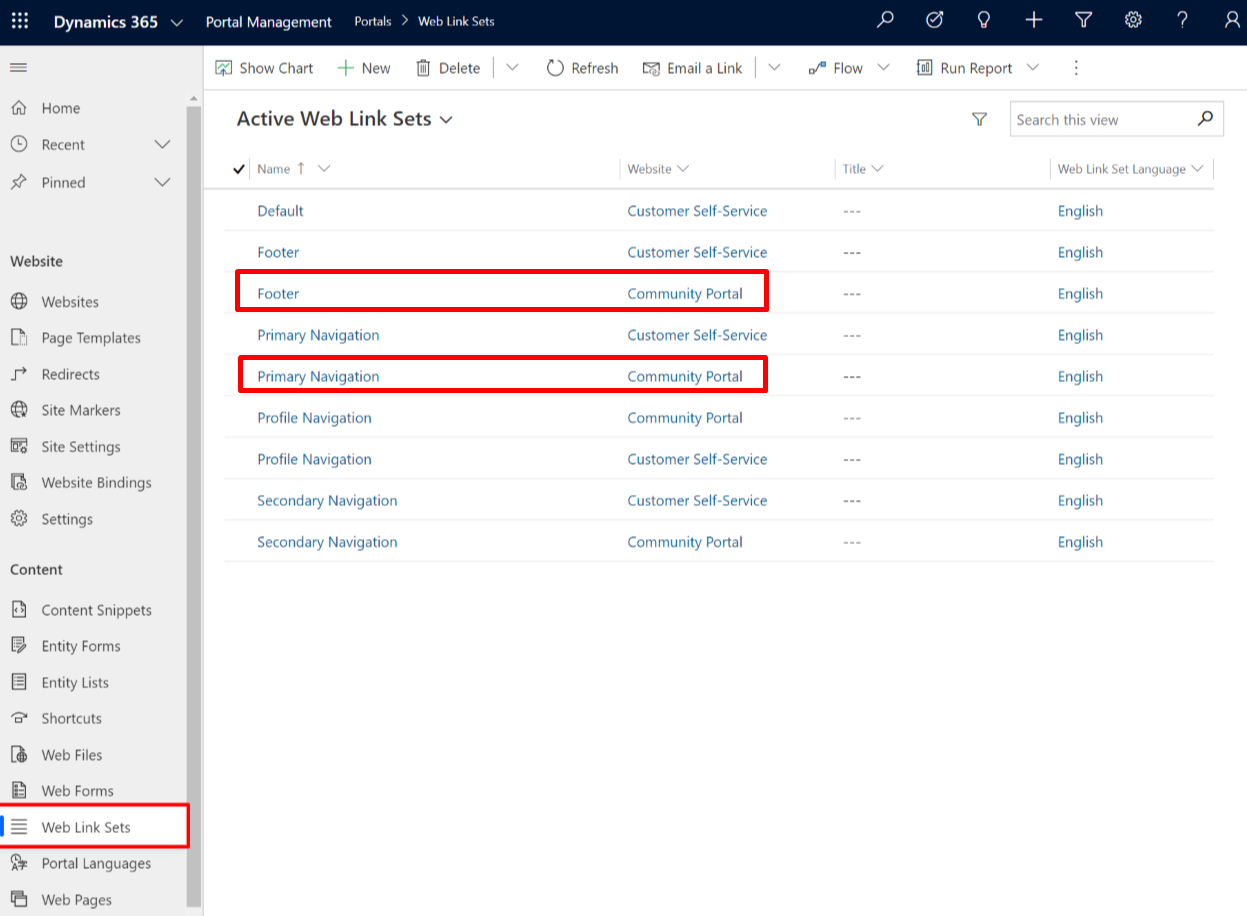
Web Link Sets
Identify the “Primary Navigation” and the “Footer” for the Community Portal.
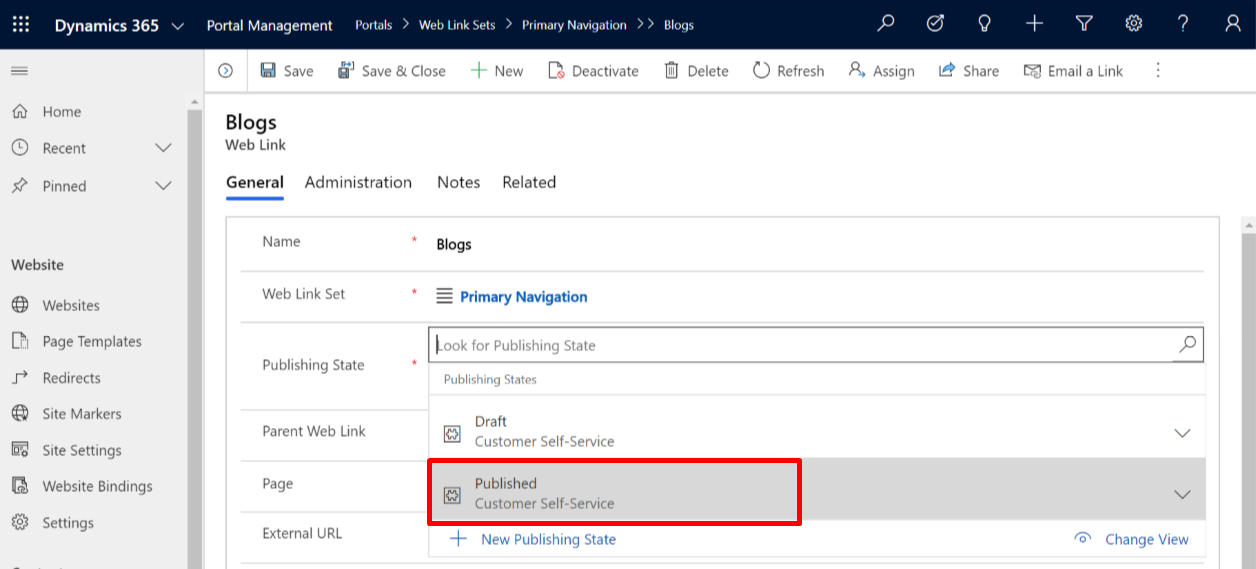
Locate the Web Link “Blogs” in each weblink set and change the “Web Link Set” value to the corresponding weblink set in Customer Self-service.
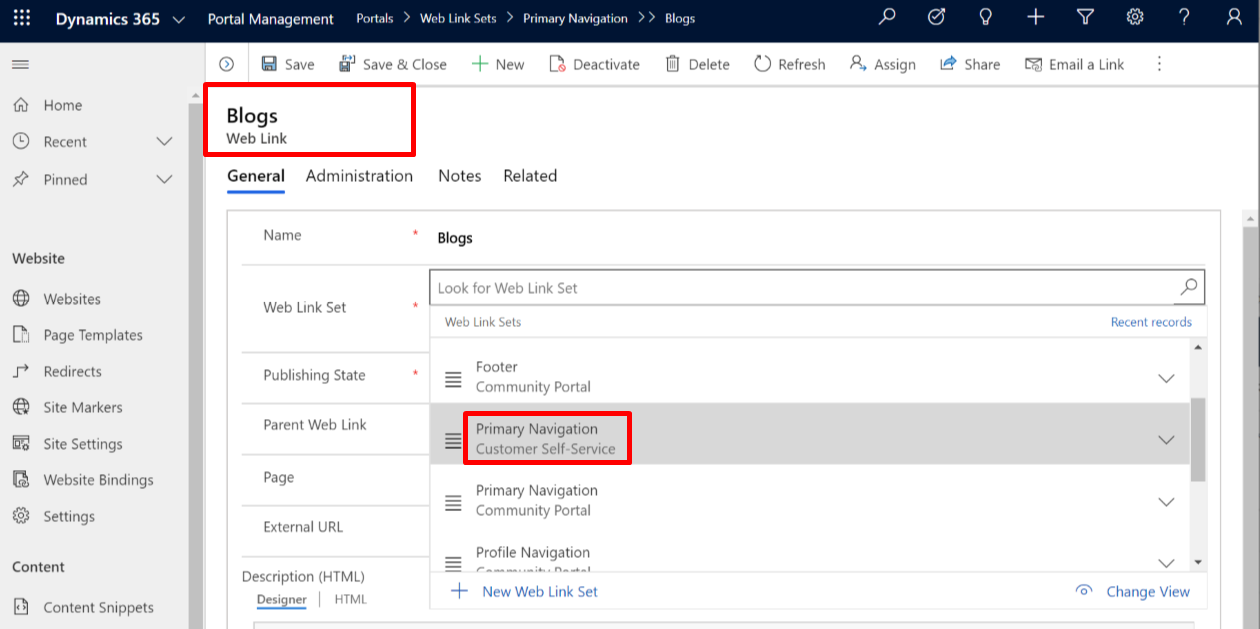
Then update the Publishing state of the same web link to the corresponding publishing state in Customer Self-Service.
Repeat the steps for the “Blogs” web link in the Footer Web Link Set.
Web Pages
Identify the “Blogs” web page and update the “Website” value to Customer Self-Service.
Update the “Parent Page” to the home page of the Customer Self-Service website.
Then update the corresponding Publishing State on the “Web Page – Information” form.
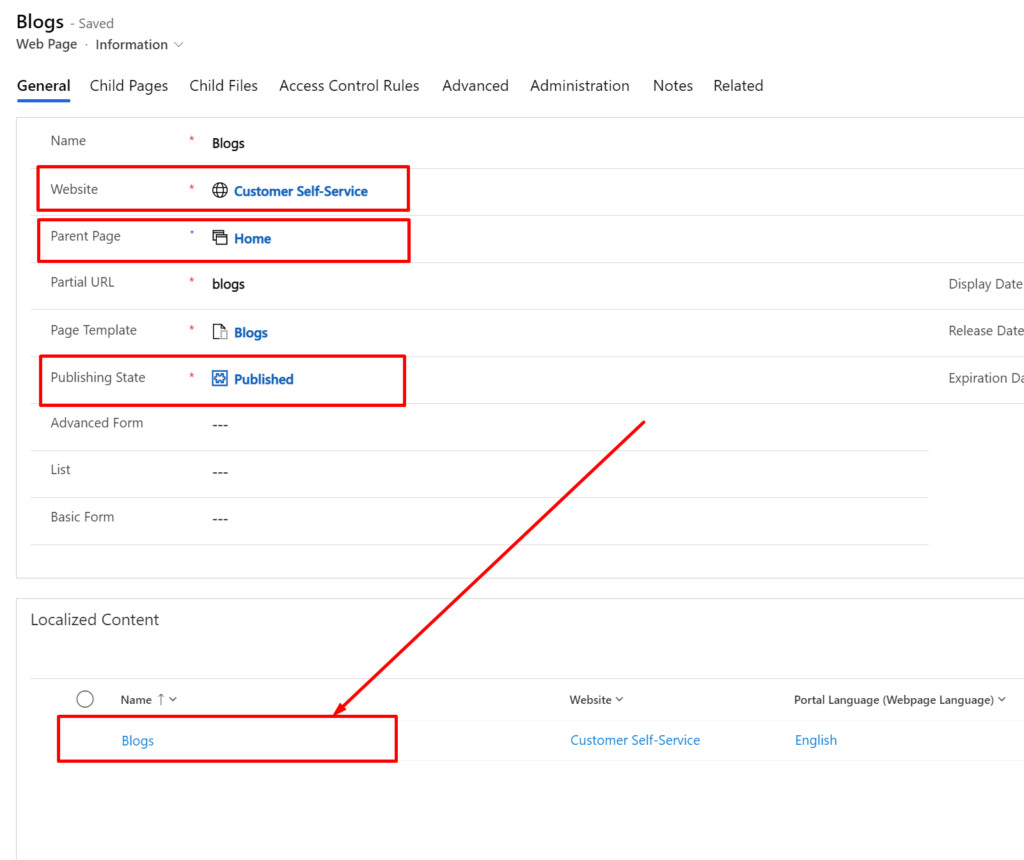
Every Web Page has two parts; the parent Web Page (- Information) and one child Web Page (- Content) for each portal language. You find these in the “Localized Content” section. We’re not able to change the website value on these content pages, so I created a new content page for Customer Self-Service and deleted the original one.
Be aware! Take a good look through the original content page in search of custom styling, scripts or settings you’ll need to replicate in the new content page.
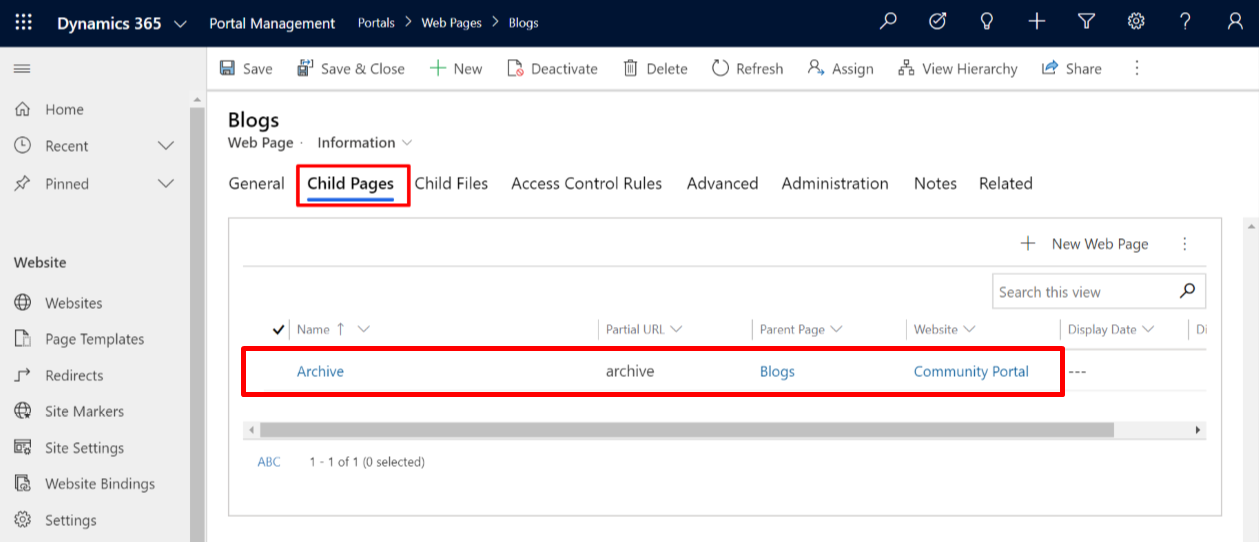
Child Web Pages
Take the opportunity to look at “Blogs” child pages and update them as well.
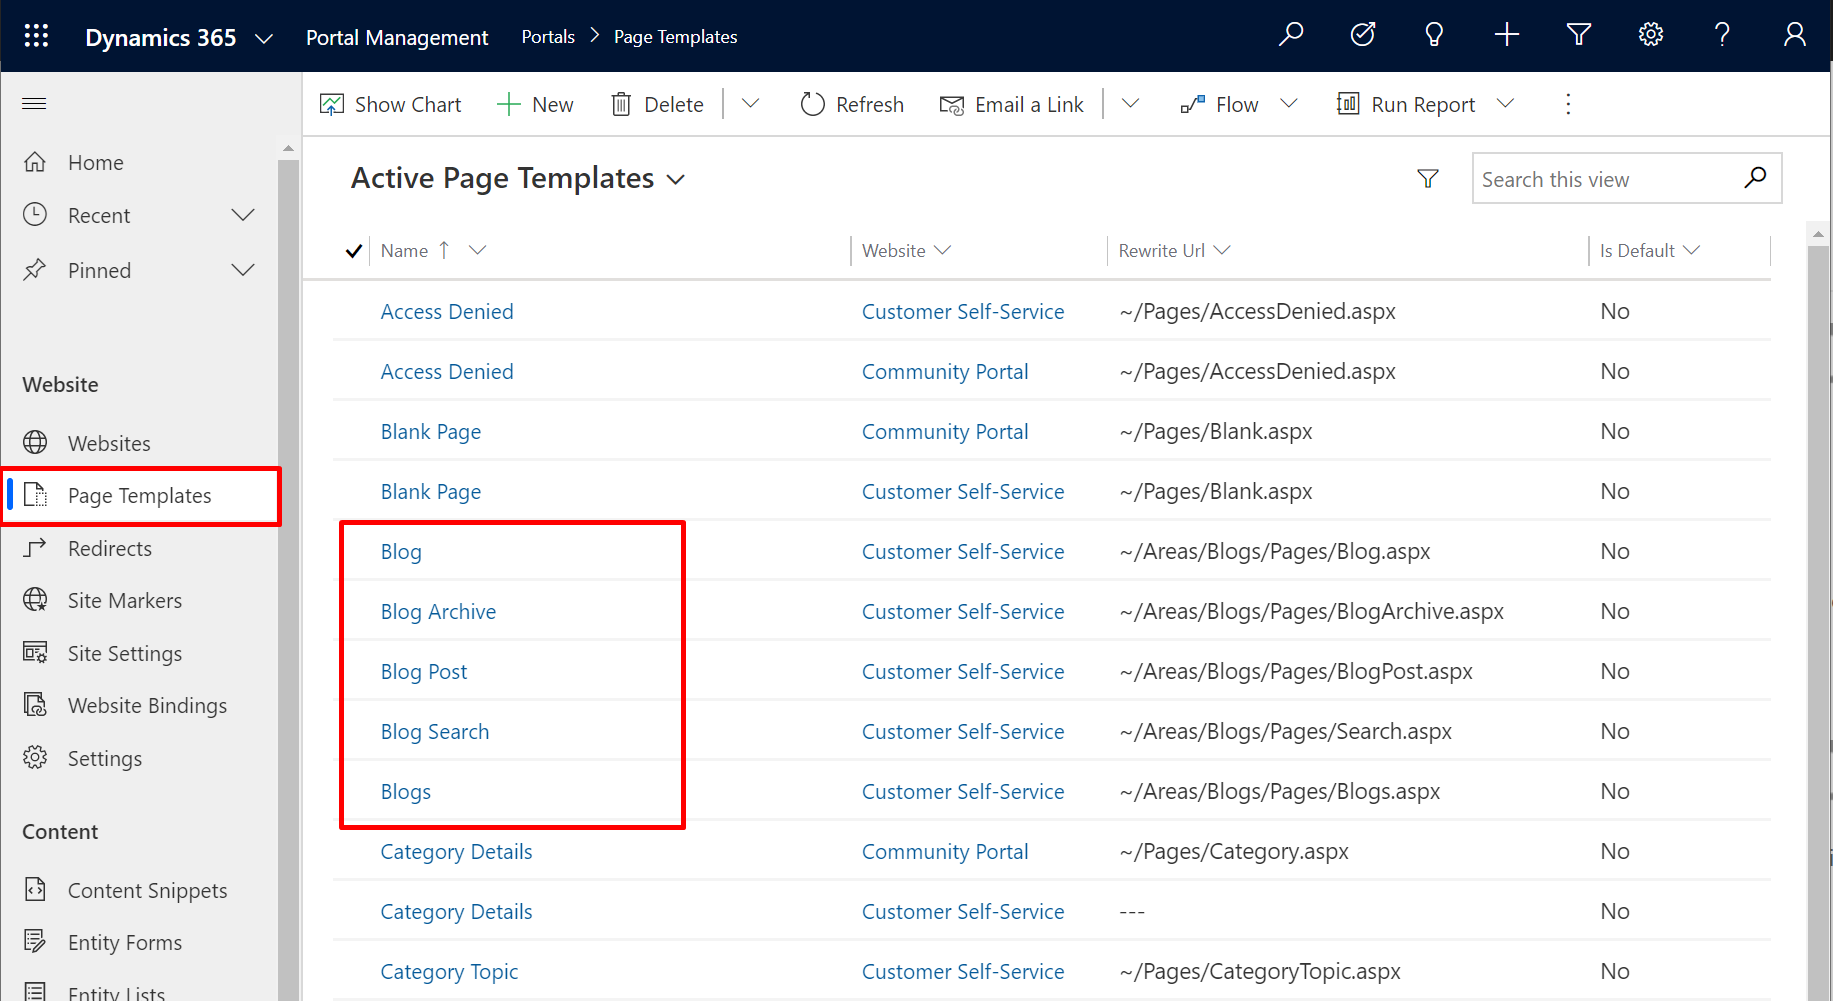
Page Templates
Look at the page templates and identify all templates related to the Blog feature and update the website value for each one.
Web Templates
The page templates used by the Blogs feature are old school (type = rewrite) and doesn’t rely on web templates. So there are no web templates to update.
NOTE! If you are working with another feature there are most certainly web templates that need updating. Do some investigating through the web templates and look inside – web templates are often included in one another.
Site Markers
Update the site markers related to the Blog feature

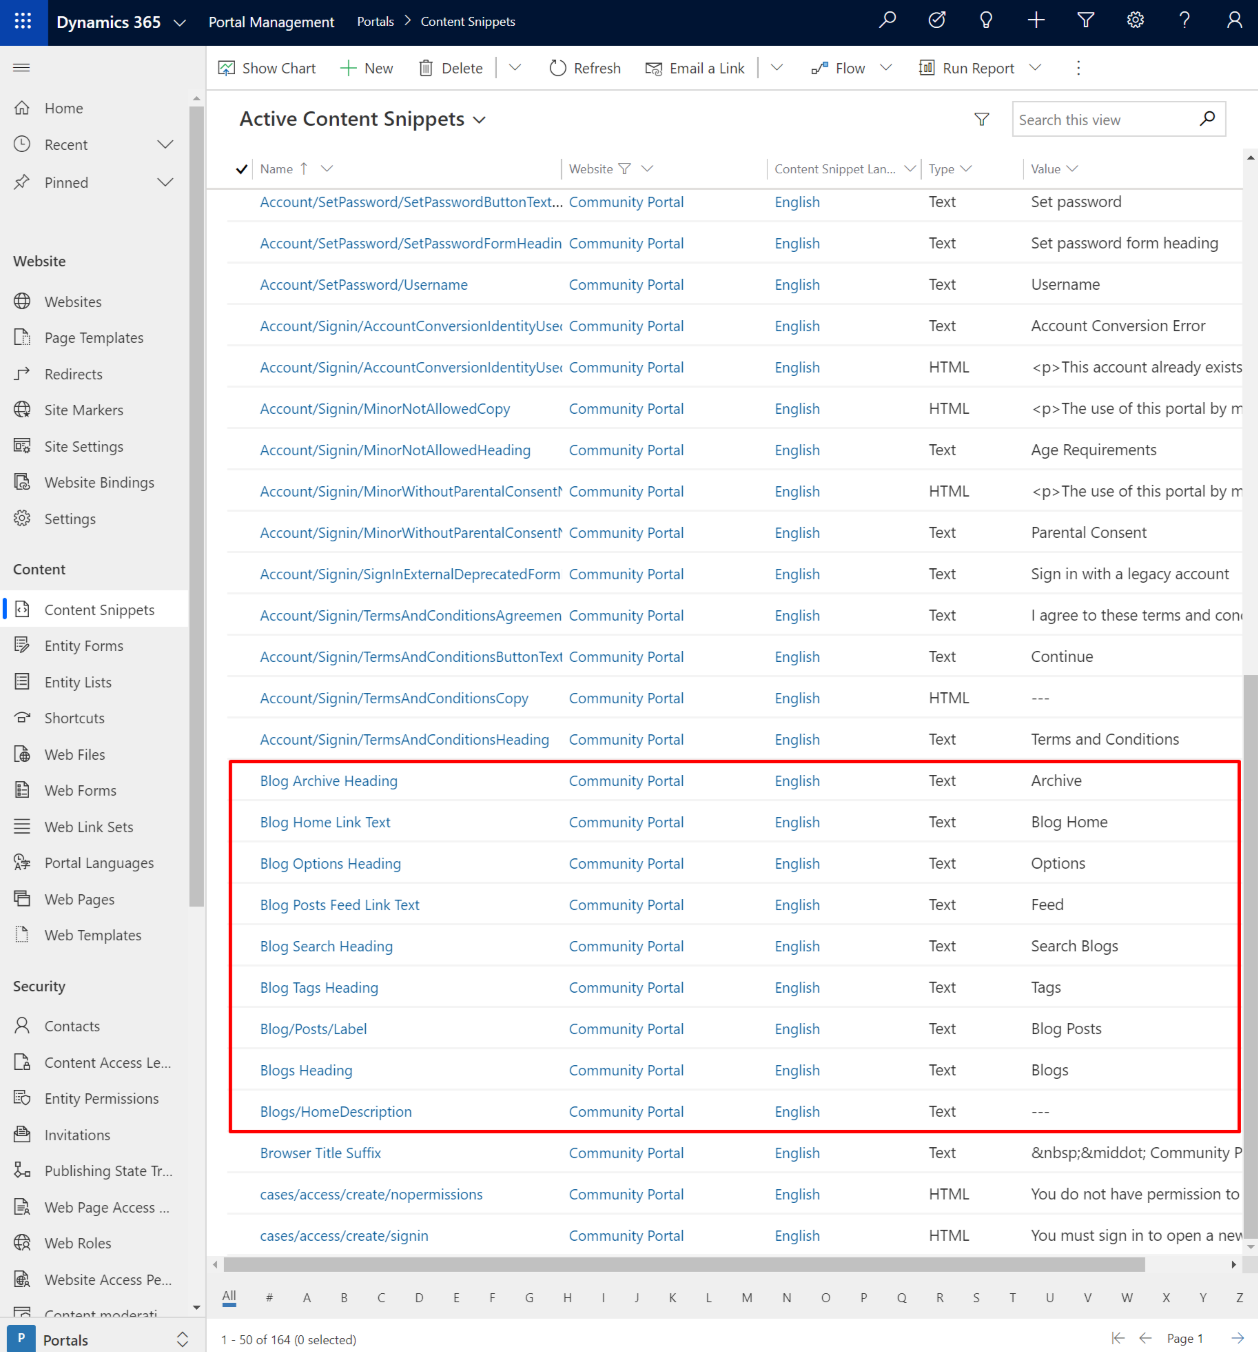
Content Snippets
When looking through web templates you probably found a lot of Content Snippets related to the feature you are working with. Other web templates, such as Home and Search often also use Content Snippets to hold labels and headings related to your feature. These are the ones I identified related to the Blog feature:
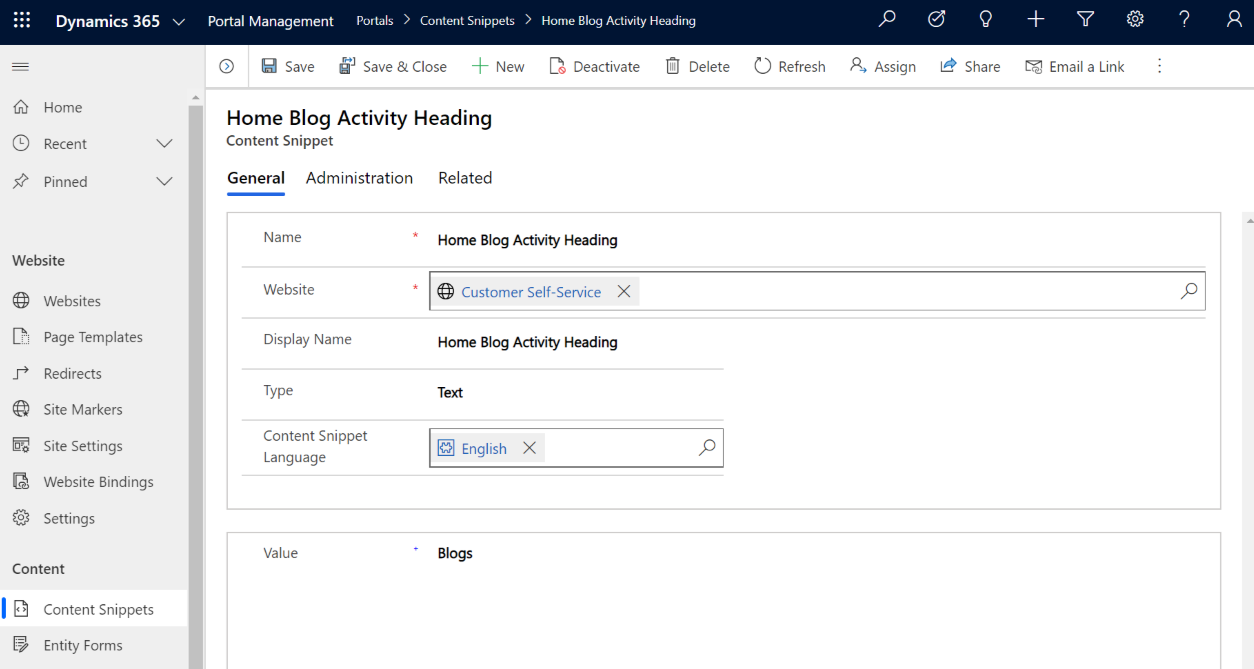
Update all so they relate to your primary portal. All content snippets are related to the website and language. Make sure to update both:
Site Settings
Loop through all site settings and update all related to your feature. I updated these two by repointing the website:
- blog/displaySearch
- News Blog Name
Then I found these search-related site settings.
- search/filters
- search/query
- Search/RecordTypeFacetsEntities
These site settings exist for both portals and I need to change the content of each – not merely replace one with the other. Follow these steps to make sure you get it right:
Copy and paste the value of the site setting for both portals into notepad.

Compare the values, identify the difference and copy the part related to the Blog feature

Paste in the copied part into the value of the value for Customer Self-Service

Update the site setting for your Customer Self-Service portal
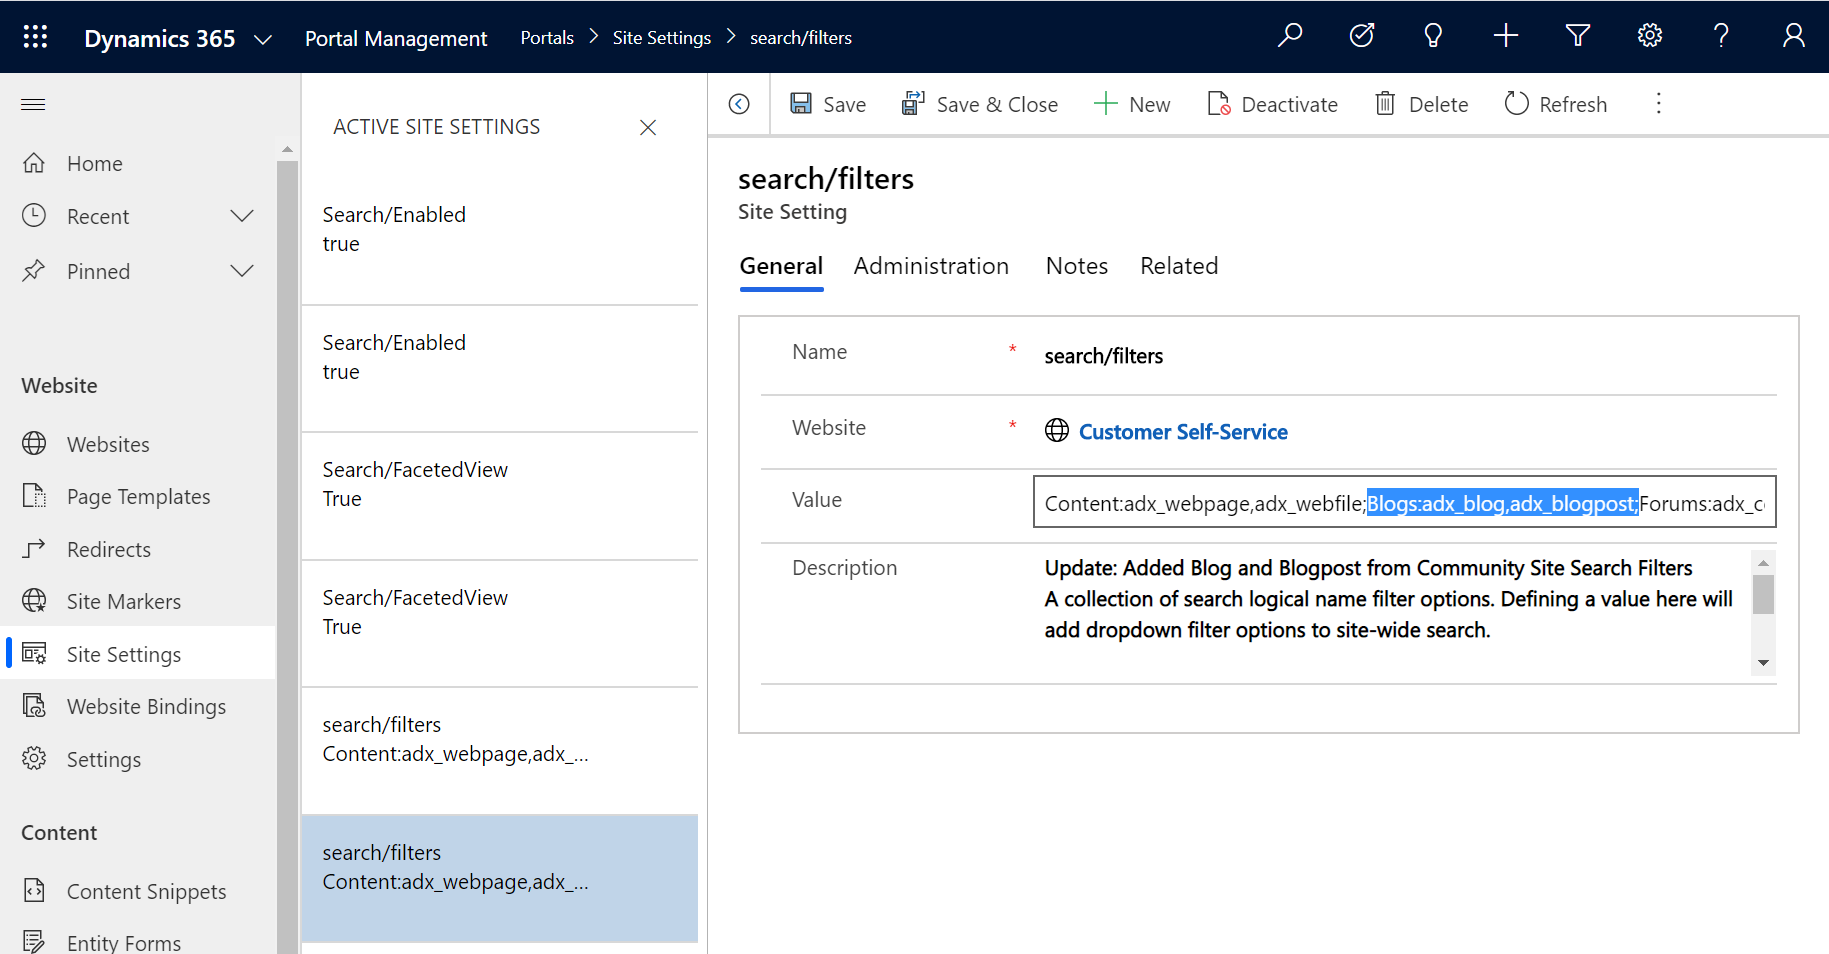
My settings turned out like this:
Search/filters
Content:adx_webpage,adx_webfile;Blogs:adx_blog,adx_blogpost;Forums:adx_communityforum,adx_communityforumthread,adx_communityforumpost;Help Desk:incident;Knowledge:knowledgearticle
search/query
+(@Query) _title:(@Query) _logicalname:knowledgearticle~0.9^0.3 _logicalname:annotation~0.9^0.25 _logicalname:adx_webpage~0.9^0.2 -_logicalname:adx_webfile~0.9 adx_partialurl:(@Query) - _logicalname:adx_blogpost~0.9^0.1 -_logicalname:adx_communityforumthread~0.9
Search/RecordTypeFacetsEntities
Blogs:adx_blog,adx_blogpost;Forums:adx_communityforum,adx_communityforumthread,adx_communityforumpost;Downloads:annotation,adx_webfile
Repeat these steps for the other two search related site settings.
Partial URL’s
Make sure there are no overlapping URLs for web pages on the same website. This will cause errors on your portal.
Web Roles
Identify Web Roles related to the feature.

Update the website and apply it to your contact.

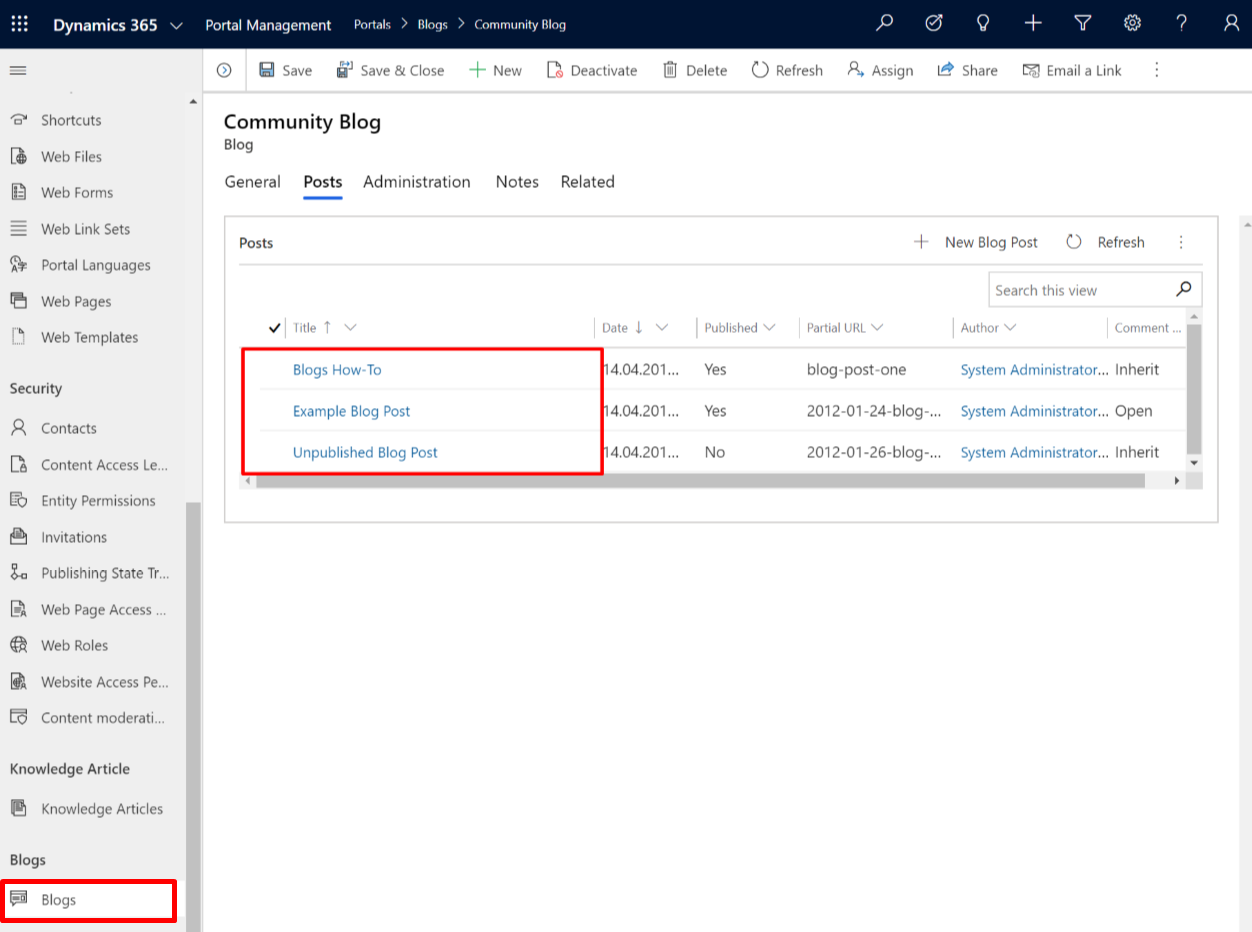
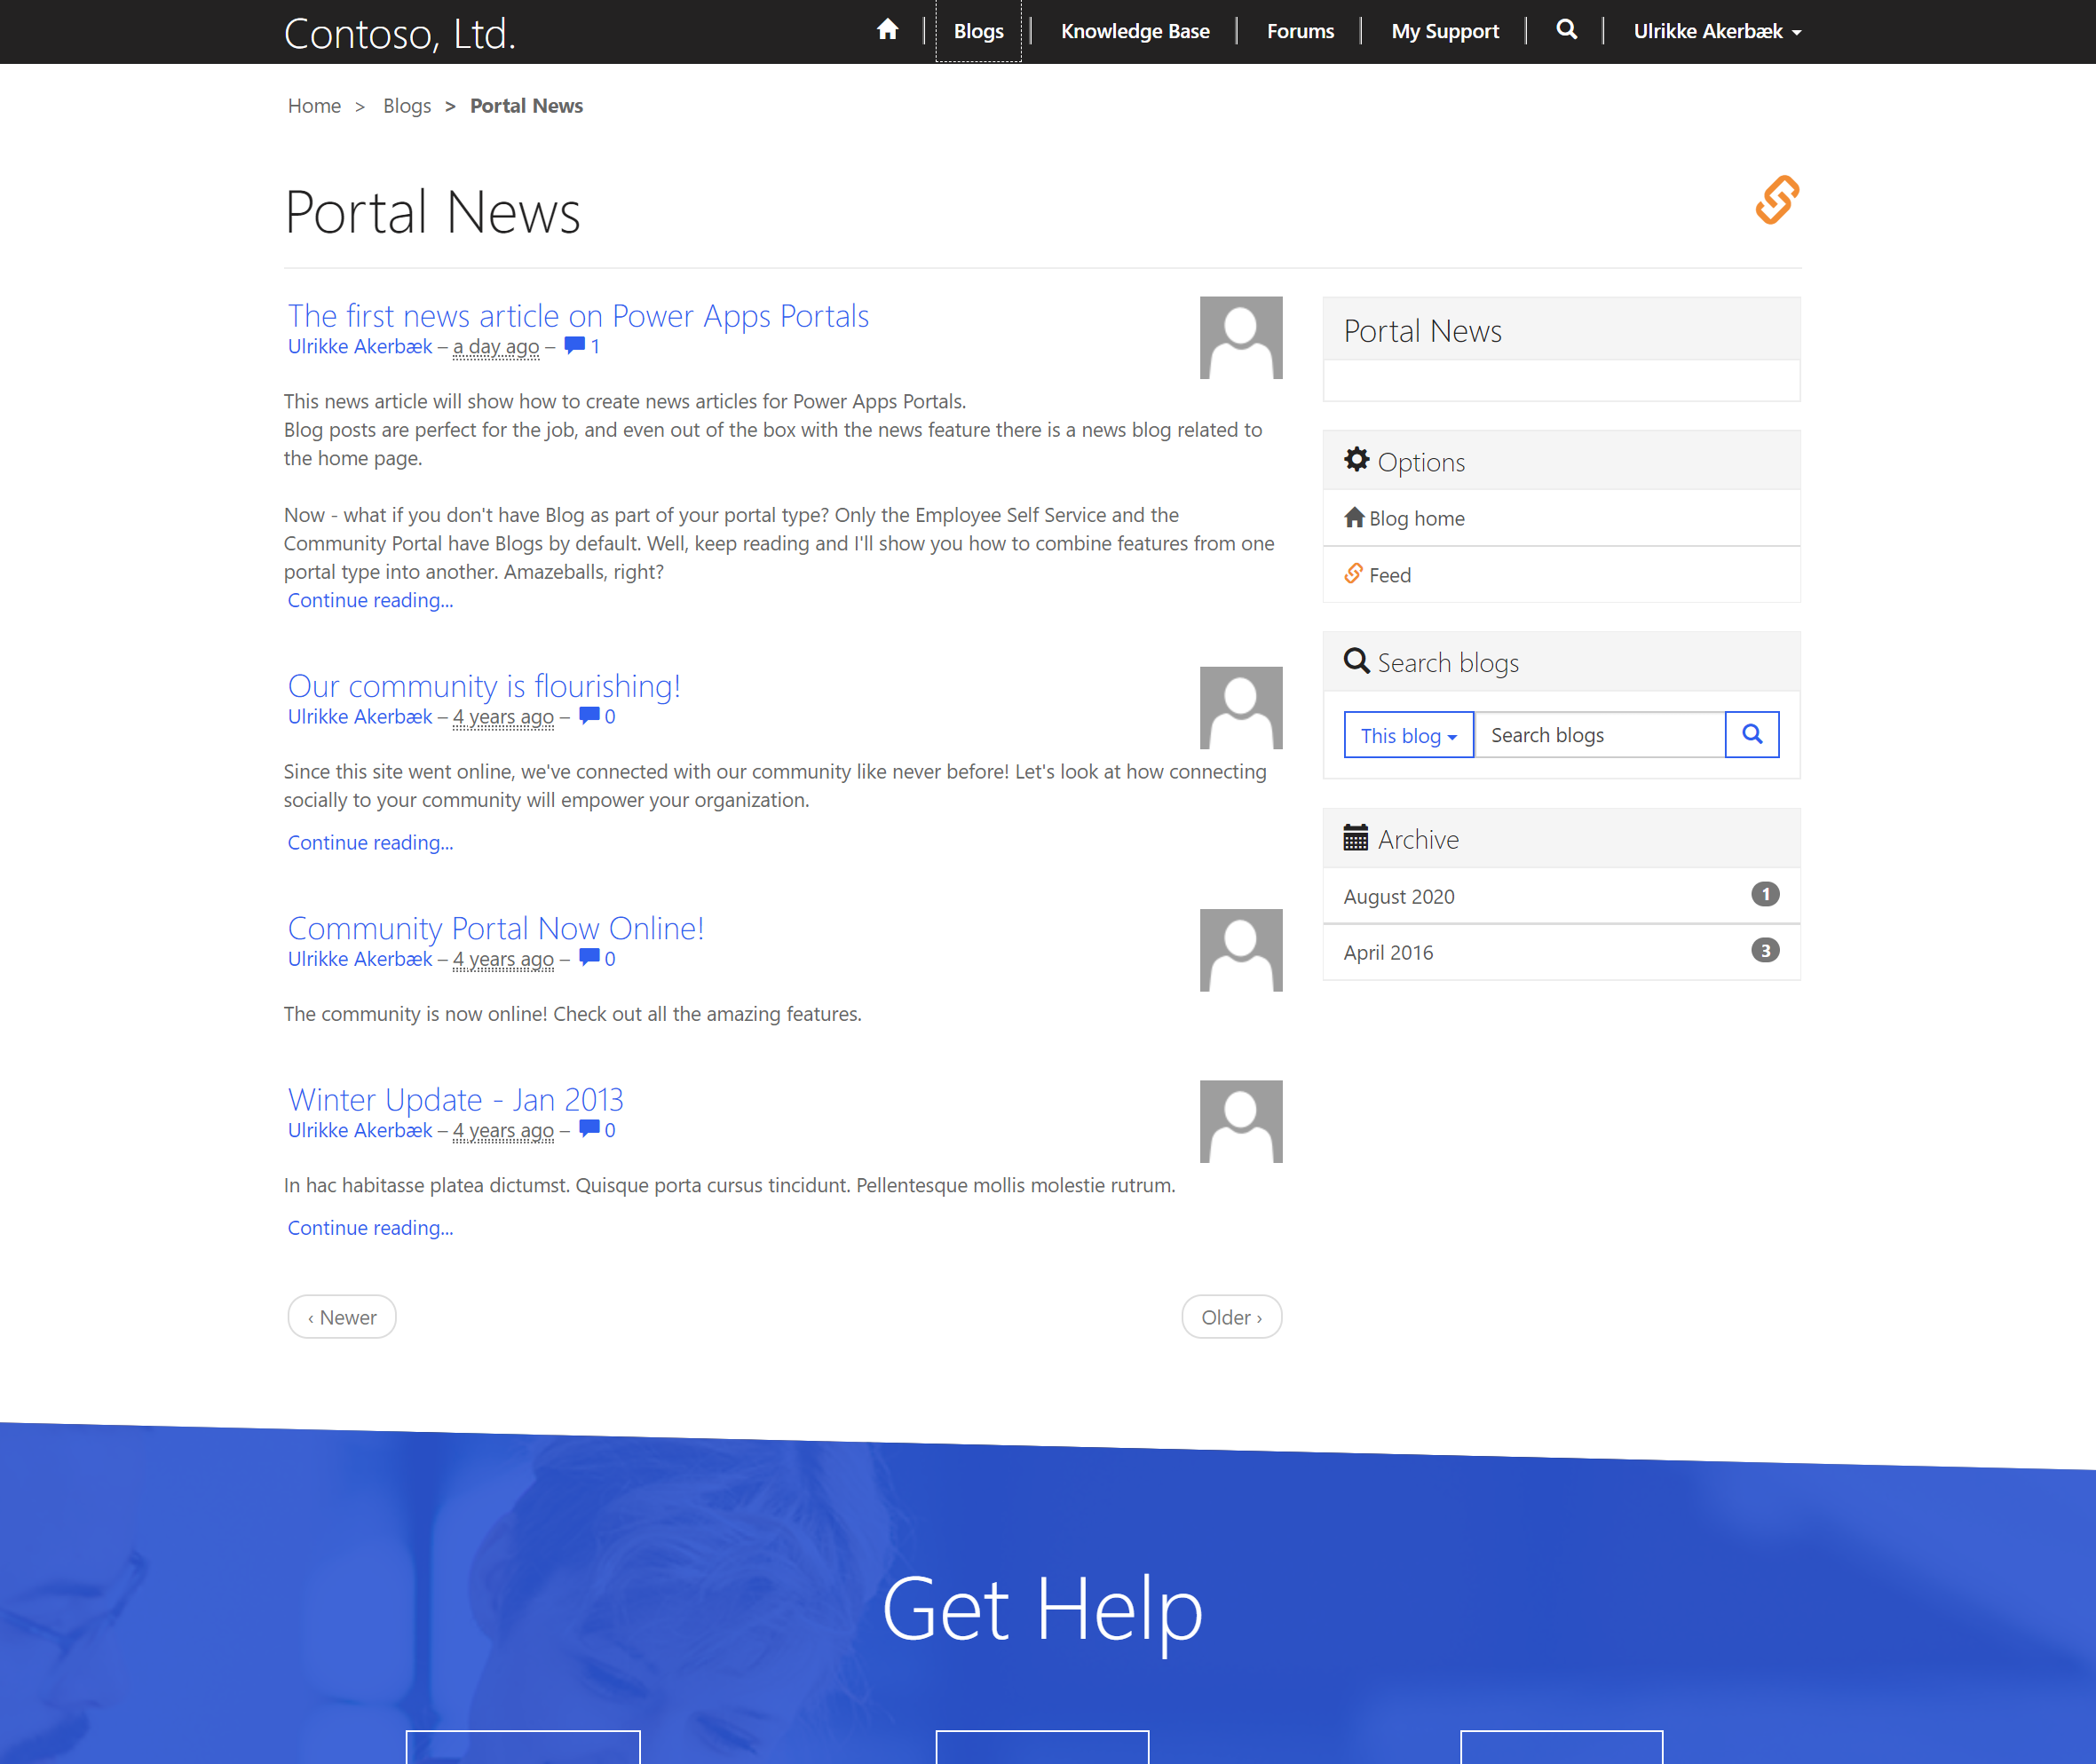
Verify that the Blog is working
For the Blog features there is a “Blogs” menu item in the left navigation in the Portals Management App. This is where you create blogs and blog posts. Update all these so they relate to Customer Self-Service portal too.
Now is the time to update your portal – and of course remember to refresh the cache first.
This is what my portal looks like when I open a blog with blog posts.
Clean up after yourself
Now it’s time to clean up after yourself. To be honest – this is the part I was most anxious about.
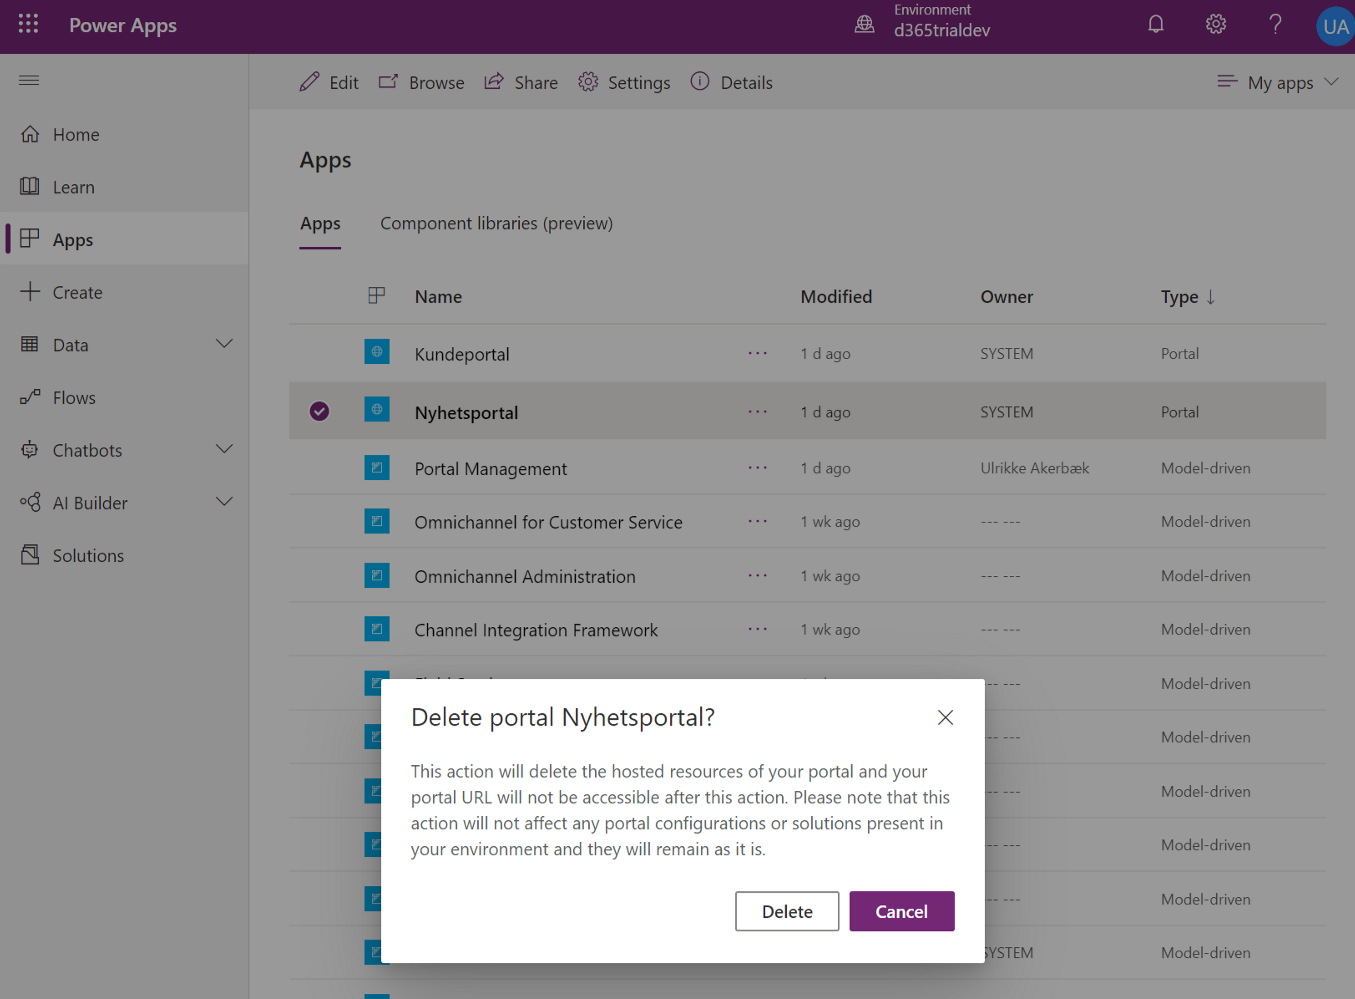
First, we delete the second Portal Power App from https://make.powerapps.com/
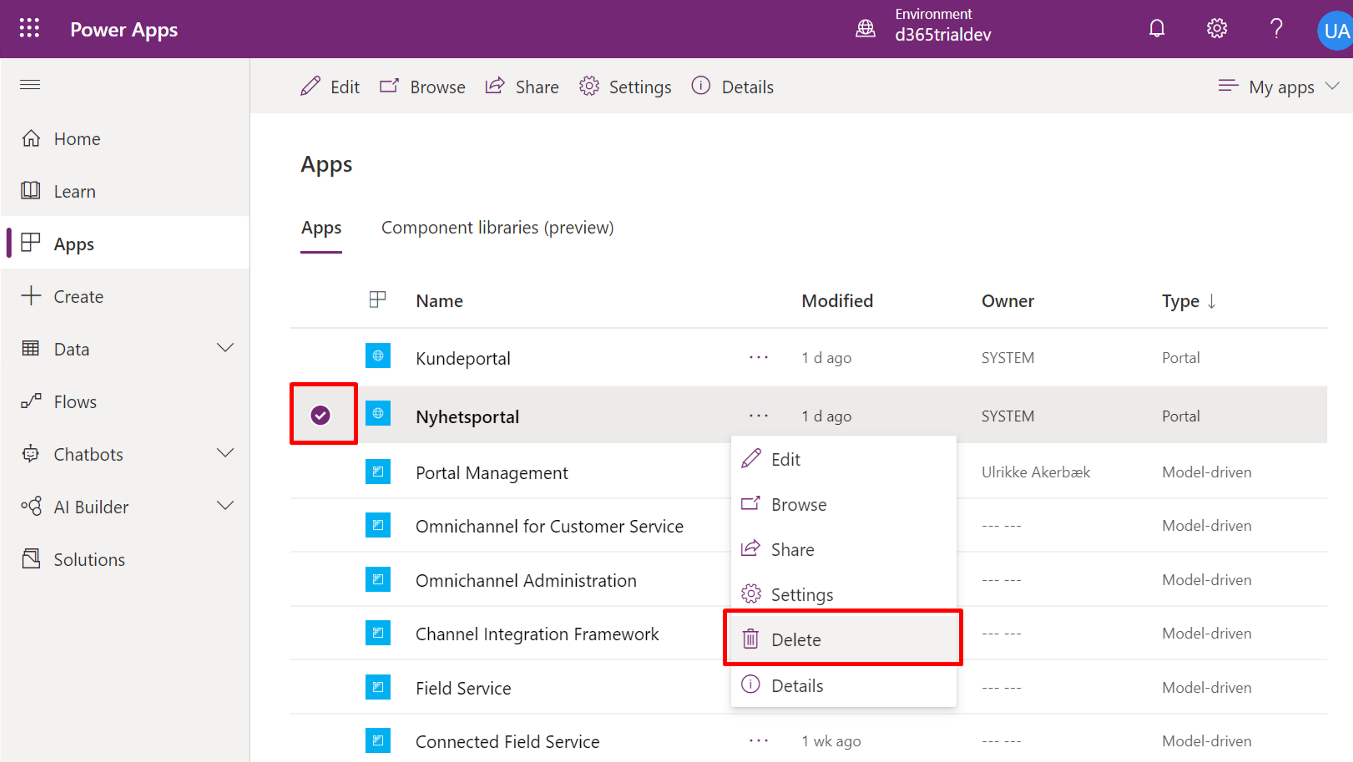
This action will delete the web app hosted in Azure but will leave all the solutions in your environment.
Next, we delete the secondary website – the Community Portal – that we no longer need through the Portal Management App.
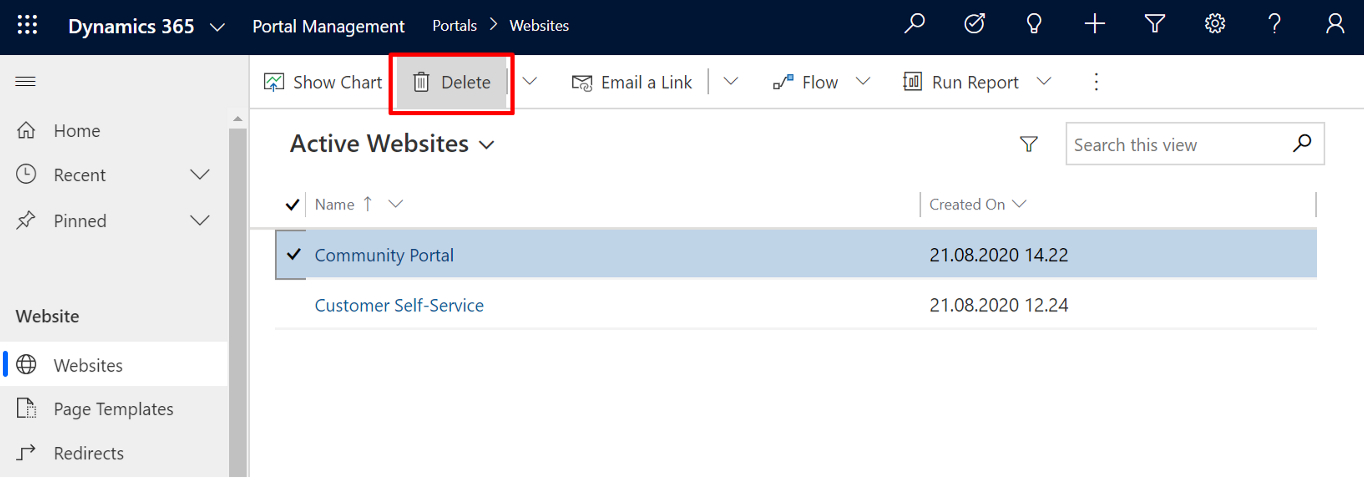
This action will trigger a cascade rule that will delete the rest of the records and metadata that still relates to the Commuity Portal.
Furthermore, the Blog entity and the “Blog” menu element in the Portal Management App will remain. In the end – you lose all the stuff you don’t need anymore and keep all the good stuff. Neat, right?
Summary and thanks
In short, to combine portal types, you need to create a second portal that include the feature you are looking for, update the website lookup value on this feature’s records and metadata in Portals Management App, and then delete the second app and website when you’re done.
Big shout out to Portals Black Belt and superstar Nick Doelman who gave me the recipe on how to do this. I have attempted this before but not succeeded because I wasn’t confident I got to all the little pieces of the puzzle.
PS.: Do you know I always keep the Microsoft Power Apps Portal Documentation and Nick Doelman’s ReadyXRM.blog open in my browser when I work with portals? Between them there are few problems can’t be solved.
Good luck and happy portal’ing!
[…] Combine Portal Types: Blog on a Customer Self-Service Portal […]
I have a question. I followed all these instructions and can now see the list of blog posts as you do. However, when I click on the blog to open it, I get a 404 error. I checked over the instructions. I verified that the URL path *should* work. Everything is parented to my primary portal. Any ideas about what the issue could be?
Hello Philip. It has been a while since I tried this myself, so there is a possibility that there have been some changes when converting Power Apps Portals into Power Pages, and that there are some additional elements that will need to be updated.