Last updated on 29/09/2021
This blog post describes how to create a table in Dataverse for storing the registrations as part of a solution for “Attendee Check-In” using components of the low-code Power Platform.
Initially, this “Attendee Check-in” solution used SharePoint List to store information about participants. Depending on the overall infrastructure and already exciting licences it might be more natural to use Dataverse for storing information about the participants.
This blog post is part of the “Attendee check-in” solution series
Tag: “Attendee Check-in” (See all blog posts in this series)- Storing participants in Dataverse (YOU ARE HERE)
- Registration form using Power Apps Portals
- Create QR-code with Flow
- Build Canvas App for scanning QR-code
Dataverse
Dataverse is the storage structure and database behind Dynamics 365 Business Applications and the different applications in the Power Platform. It is based on the Common Data Model and you can read more about it on Microsoft Learn and Microsoft Documentation
Create Solution in Dataverse
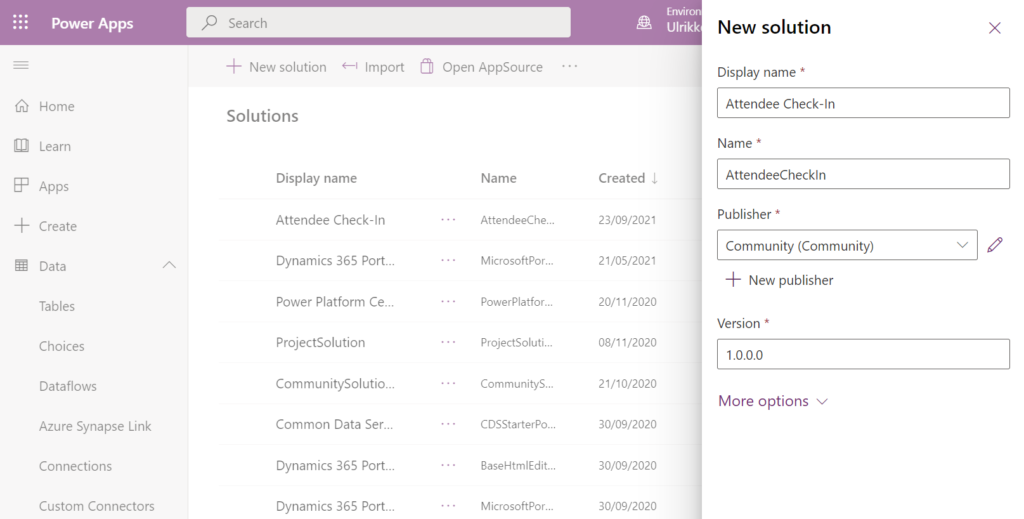
Log into make.powerapps.com and select “Solutions” in the left menu.
Click “New Solution” to create a new solution to hold your changes.
Note! If you don't have a publisher yet you should create one.
Create “Participant” table
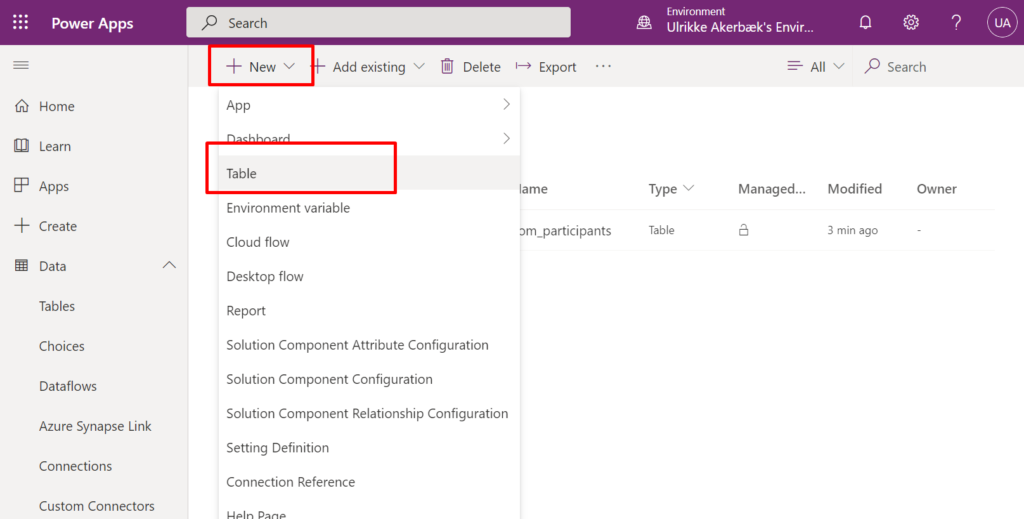
Then the solution is created open it by clicking the name.
Then hit “New” from the toolbar and select “Table”
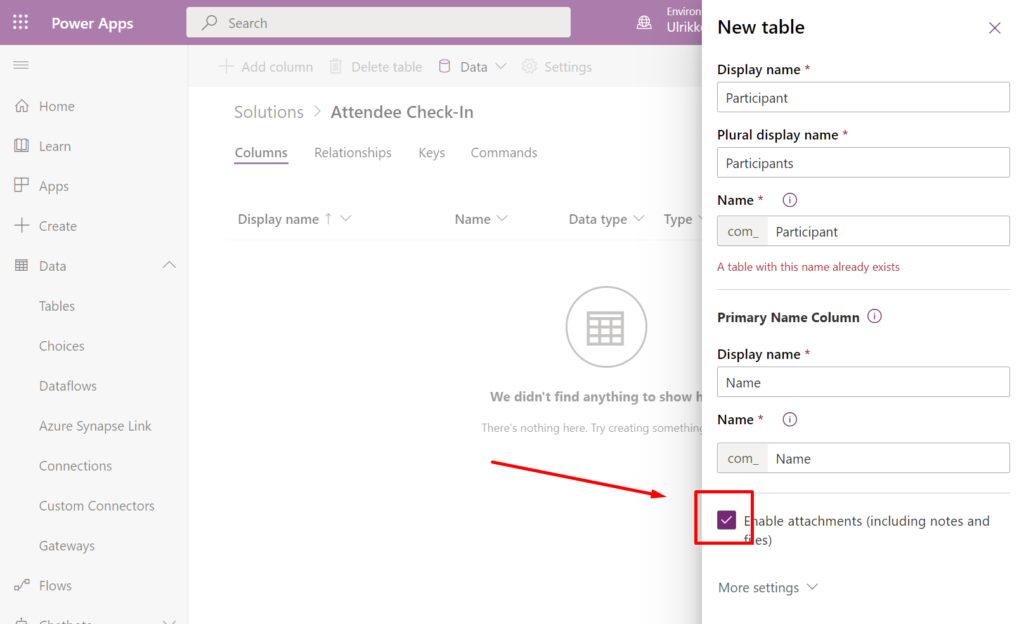
Enter the name “Participant” for this table and make sure you check the “Enable Attachments (including notes and files)”.
Add columns to table
Open the newly created table to see and add the columns you need.
These are the columns I created:
- Email (Email)
- Team (Text)
- CheckInTime (date and time)
- Checked In (Yes/No)
- Has QR-code (Yes/No)
- Comments (Text, multiple line)
- QR-code (Image)
- Team Lead (Yes/No)
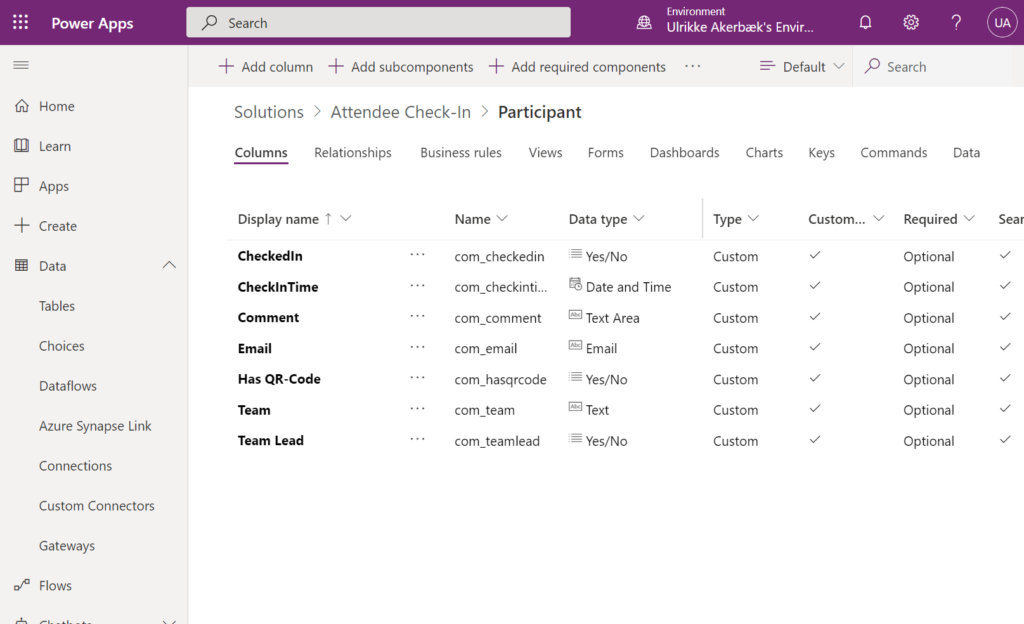
When columns are created, hit “Save Table”-button in the bottom right corner.
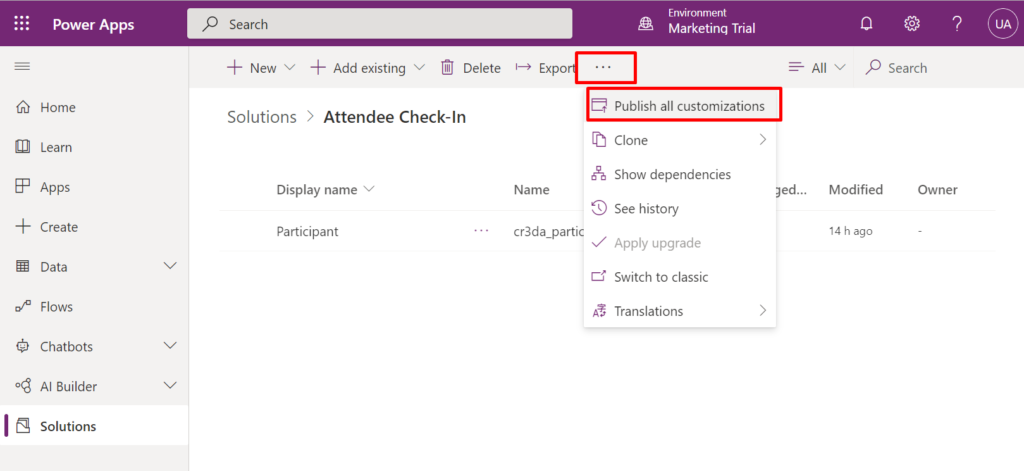
Navigate back to the solution and click “Publish all customizations” in the toolbar on top
Micorosft Forms participation registration form
If you follow the original solution for the “Attendee Check-In” the registration form is a Microsoft Form. In order for you to keep using this form you need to change the Power Automate Cloud Flow that automatically trigger when a form is submitted. In the original solution this Flow create a new line in a SharePoint List. Using Dataverse instead we need to modify the Flow so that it create a row in our Dataverse table instead.
Power Apps Portals participation registration form
An alternative to using Microsoft Forms for the registration form would be to use Power Apps Portals. The Portal will surface a form created for this “Participant” table we just created – where participants can register. Lets look into how you can build this registration form using Portals:
Have fun!
[…] for an event using a Microsoft Form. The registrations are stored in a SharePoint List or in Dataverse depending on your existing environment […]
[…] Store participants in Dataverse […]
[…] registrations are stored in a SharePoint List or in Dataverse depending on your existing environment […]
[…] Storing participants in Dataverse […]