Last updated on 11/06/2022
With the release of the new Power App Portal in this October ’19 Release we were introduced to a brand new Power Apps Portals Designer Interface. Microsoft marketed it as a new product under the slogan “Enable external access with portals” and it created some confusion. If you are still a little confused about the difference between Power Apps for external users and Power Apps Portals the link is to a blog post that will sort things out for you.
In this blog post I will cover the different interfaces I use when working with portals. Like a map to configuring Power Apps Portals – the five interfaces you need to know about when diving into the configuration of your portal.
Let me clairify one thing before we go any further; The old “legacy” Dynamics 365 and the new Power Apps Portals are in reality the same thing. Your old portal will still work fine. The licensing has changed and the domain name will be updated to “[yourportal].powerappsportals.com.
Still – under the hood it’s pretty much the same thing.
These are the five interfaces you need to know about when diving into the configuration of your portal.


Fortunately all these interfaces are available from Power Apps Central at make.powerapps.com. Pretty neat, right? Power Apps Central is where you start when creating new portals, model-driven apps for Dynamics or Power App Canvas Apps. You can get to Power Automate (still labelled “Flow”) and look inside CDS (common data service), get an overview of connections and go into AI Builder. I always go trough the “Solutions” in the menu, select my solution and make my changes there to keep things tidy.
Now. let me show you the map to configuring Power Apps Portals – the five interfaces you need to know about when diving into the configuration of your portal:
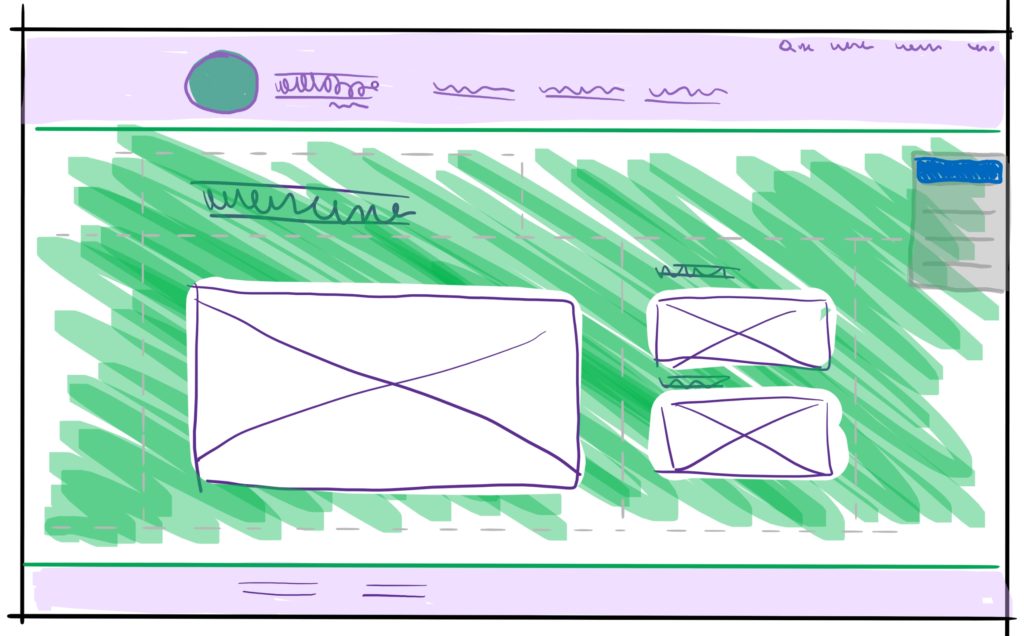
1. Web Inline editing
Keywords: Web Inline editing and Portal Content Editor Toolbar
Useful for: Editors and content managers, front end designers.
When the portal is provisioned it is visible trough the browser immediately. You can log in with the administrator user and setup pages, navigation, edit content and change templates right there in the browser. As tempting as this might be, it is not the best way to go about building your portal.
Use this interface to edit page content and make changes to labels and add summary text when the building blocks are complete. When you are logged in as a user with editorial access you will see inline editing options as you hover over text elements, navigation, ect. You will also see the “Portal Content Editor Toolbar” in the upper right corner.
How to get there? Start at make.powerapps.com and find the portal (type portal). Click the ellipse-icon and choose “Browse” from the element menu.
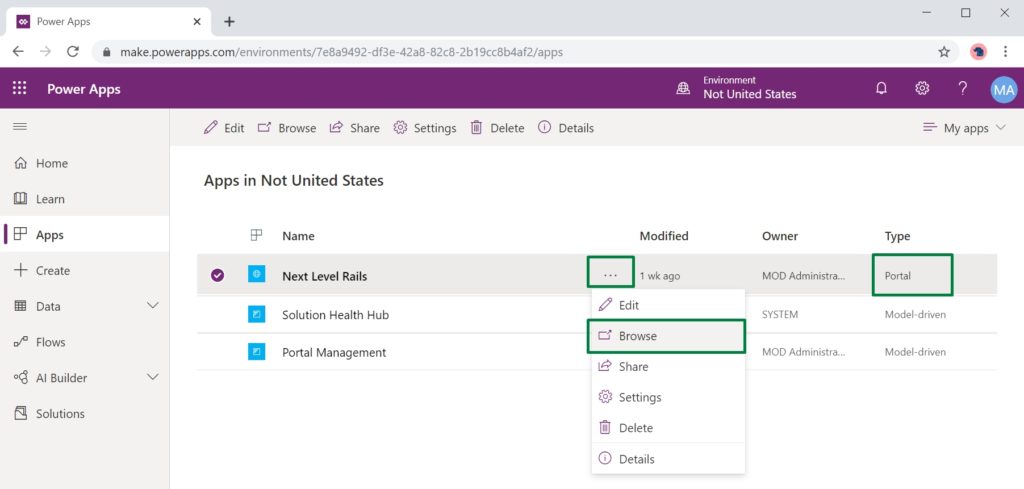
The portal will open in a new tab. You can choose “Login” at the top and login with the administrator user to get access to Portal Content Editor Toolbar and inline editing options.
This interface is for adding furniture and pillows, blankets and pictures in a new house the day you move in. Last minute changes and small alterations to your finished website.
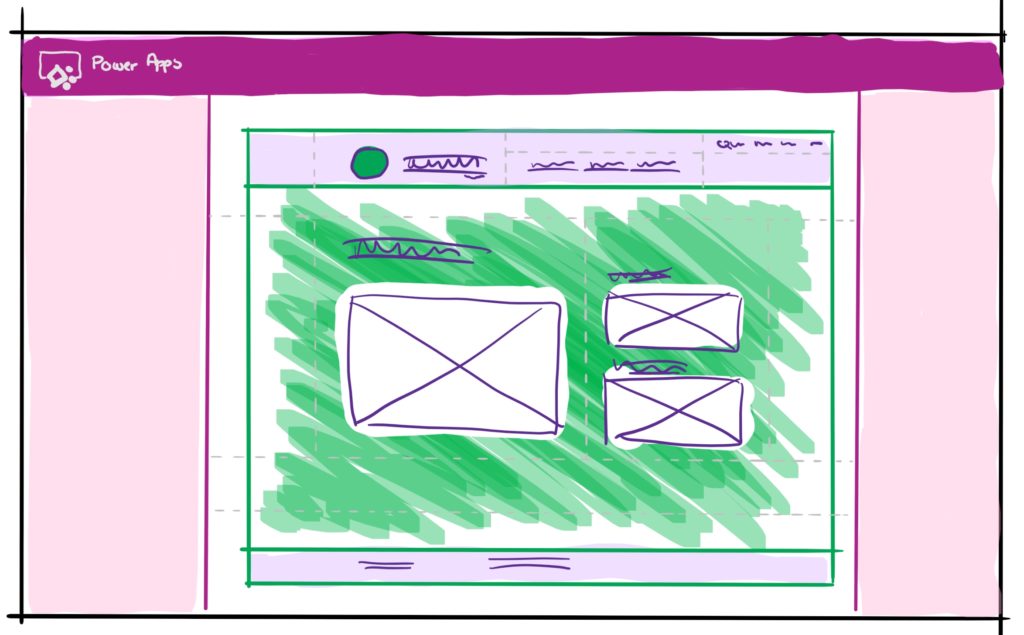
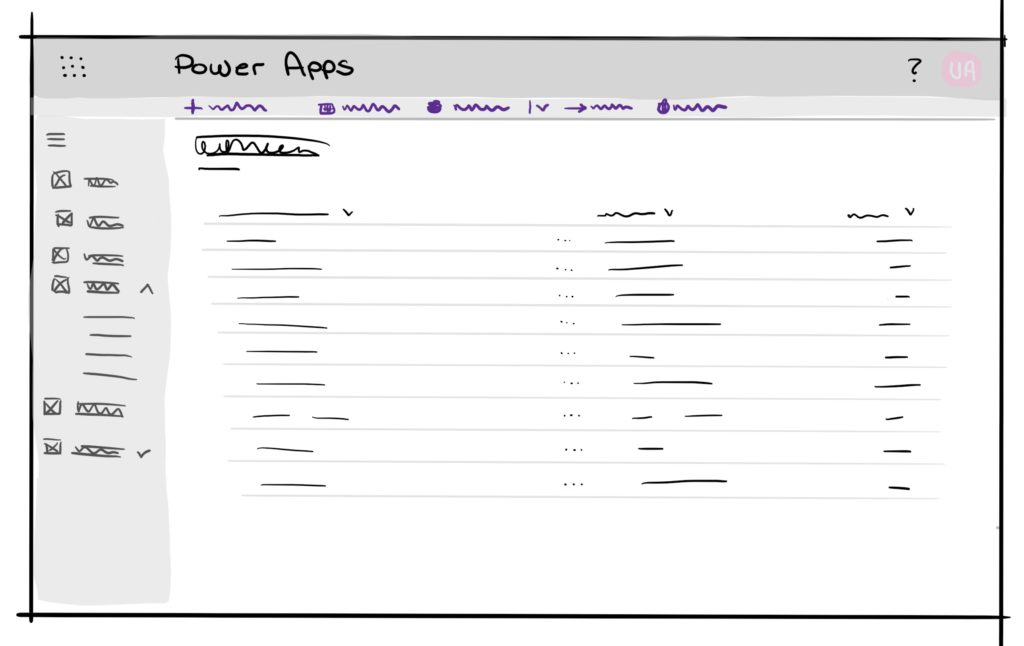
2. Portals Designer
Keywords: Power App Portals Designer (Power Apps Portals Interface) * New
Useful for: no-low-coders, front end designers.
This interface is brand new and became generally available in October 2019. When working with Power App Portals this interface should cover all the basics for you, and this should be your primary work space.
This is where you do most of the configuring and structuring of your portal. Use the Portal Designer to build the site map by creating pages, add forms (entity forms or web forms) and lists (entity list) to my pages, choose the layouts (page templates) and add most of the content.
You can choose to with with the WYSIWYG-editor (What You See Is What You Get) or expand the code panel and work directly with the HTML, Liquid, jQuery or CSS from here. When I work on smaller projects and POC’s (proof of concept’s) I use the Portal Designer for editing .CSS-files as well, It works surprisingly well to have the .CSS open in the web file editor always open in one tab and work with the other content in another tab.
How to get there? Start at make.powerapps.com and find the portal (type portal). Click the ellipse-icon and choose “Edit” from the element menu.

The Portal Designer will open in the same tab. It might take a second before it’s ready, especially the first time you open the designer.
To continue the house building metaphor; this is equal to the main construction; putting up the walls, shaping the rooms, walls, floors and ceiling, getting the bathrooms and kitchen installed.
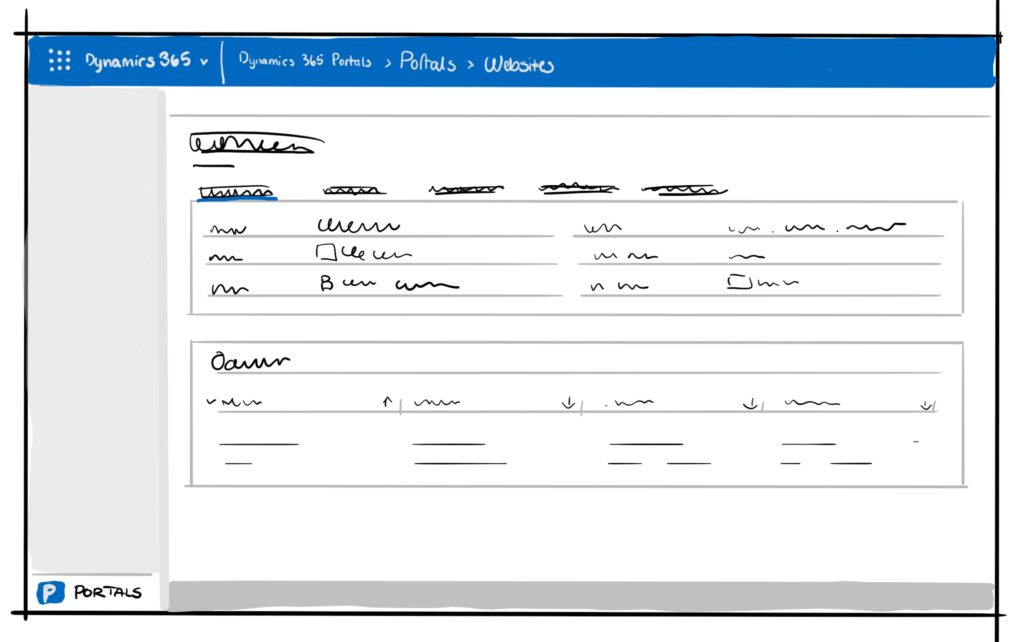
3. Portals Management App
Keywords: Dynamics 365 for Customer Engagement Model Driven App for Portal Management
Useful for: Frontend and backend developers, Interaction designers, coders and developers.
This is a Dynamics 365 model driven app, and most of you will know this as the Dynamics 365 interface. I use this for more advanced configuring and custom development. This is where you get more advanced with forms and lists, web links and site settings. Entity permissions and security, metadata and language are all done here.
I will confess old habits die hard, and this is my default interface for configuring. I have worked with Portals since Microsoft first offered it as a service in 2016, and this has been the home base for me since then. Whenever I spin up a new portal for proof of concepts and testing I find myself doing more and more work in the Portals Designer.
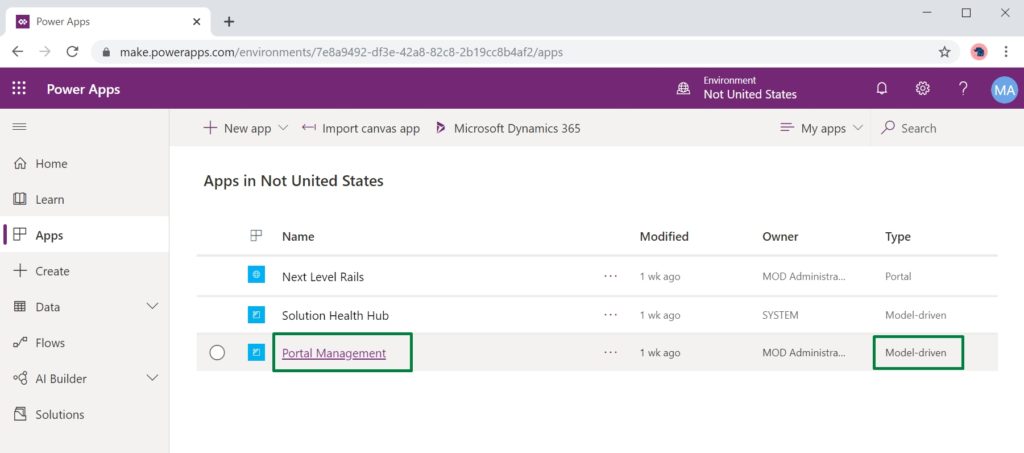
How to get there? Start at make.powerapps.com and find the “Portal Management” Model-driven app. Click the “Portal Management” link and it will load in a new tab.
In your house this is where you install all the hidden wiring and tubes running inside the walls; the alarm and the advanced smart house cables, the vacuum tubes and the air ventilation. All the stuff that nobody see but make the house smarter, better and more secure.
Make sure you use the model driven app for Portals – and not the old Dynamics 365 interface. A fine overview of the Portals Management App from Nick Doelman: https://readyxrm.blog/2019/08/16/overview-of-the-powerapps-portals-management-app/
4. Common Data Service
Keywords: CDS, Commond Data Services and Common data model
Useful for: Administrators, developers and configurators.
The entities, fields, relations, lists and forms that you need is created in Common Data Service. CDS is the place for structuring and storing your data. Portals Users will be contacts, businesses will be accounts and this is where you build your custom entities; like teams and players, cup rounds and scores. You configure the lists you need to display and what columns in the right order, the forms with fields in the correct layout. These are translated on to the pages of the website trough entity lists, entity forms and web forms that you configure in the Portals Designer or Portals Management App.
Make sure you understand the core principals on witch Dynamics 365 and Common Data Service is build before you start poking around in CDS. This is a relations database, and it has it’s own quirks and hurdles that it’s smart to know about.
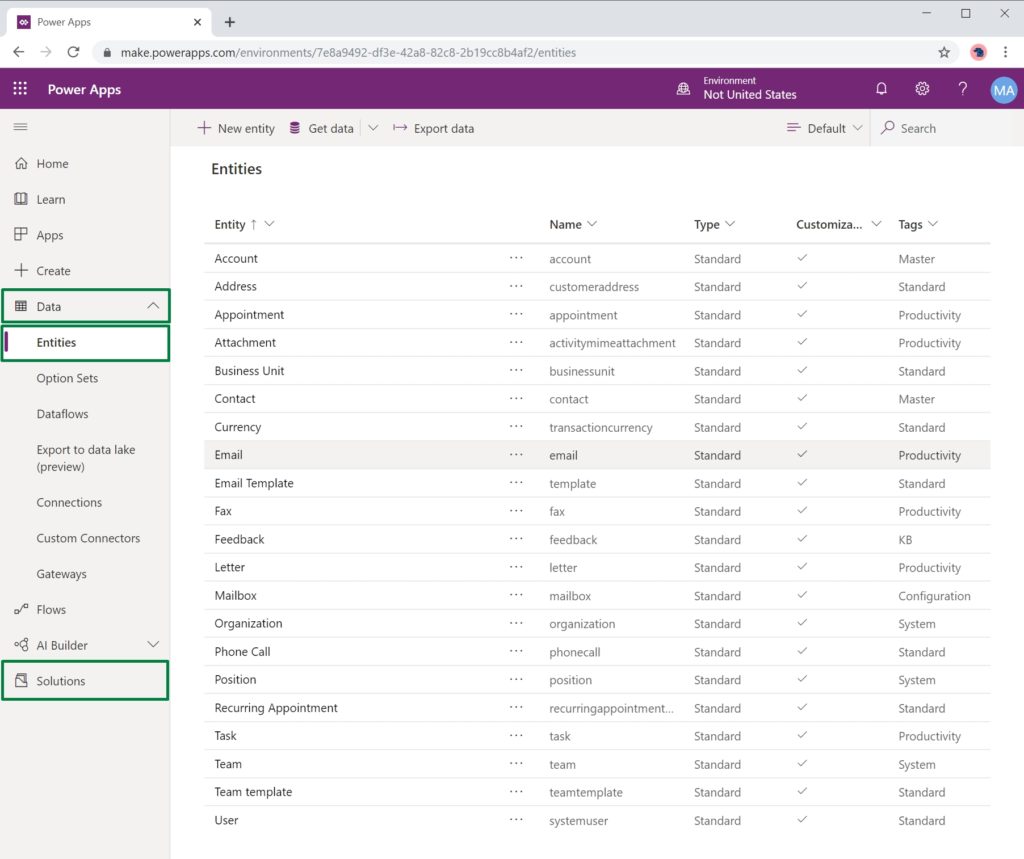
How to get there? Start at make.powerapps.com click the “Data” left menu link. This will expand the menu and give you access to Entities with their fields, relationships, forms and lists.
I recommend that you create a solution and keep all your portal customizations in there. Look at Microsoft Documentation for directions.
In your house building process this is the drawing of your house and the foundation with all the spikes coming out in the right place in the floor for the walls to be built upon.
5. Portals Admin
Keywords: Power Apps Portals Admin Center
Useful for: Administrators and developers.
In the Portal Admin Center you can restart a portal, setup DNS routing, enable temporary maintenance mode, enable SharePoint and PowerBI integrations and much more.
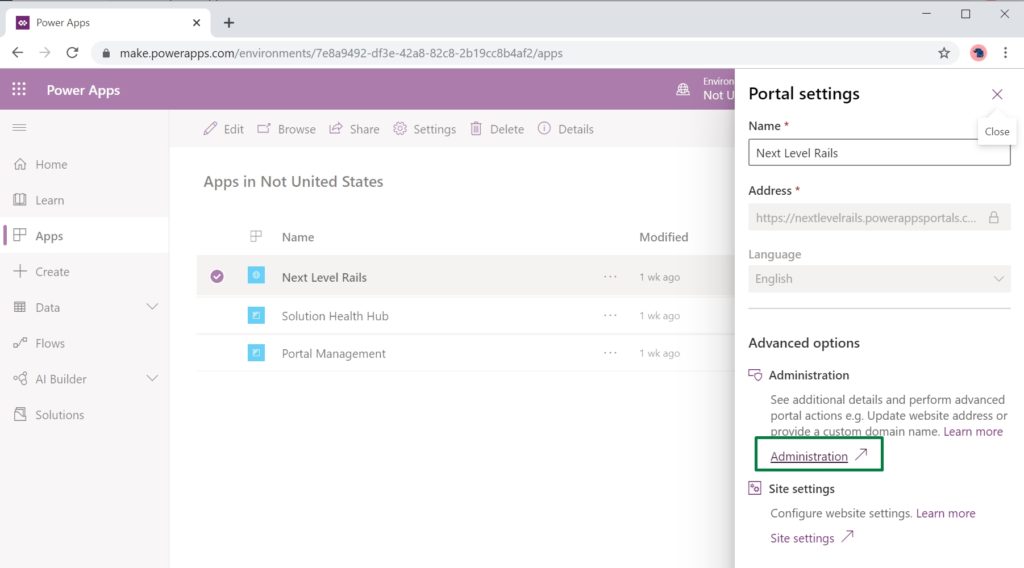
How to get there? Start at make.powerapps.com and find the portal (type portal). Click the ellipse-icon and choose “Settings” from the element menu
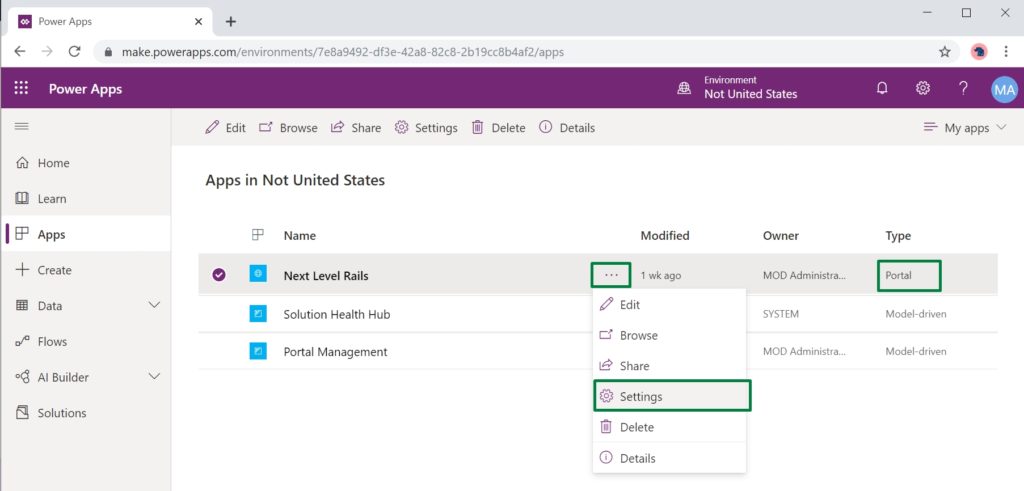
A panel will appear on top on the right side and click the link to “Site Settings”.
The Portal Admin site will load in another tab and let you make your customization in peace.
This is the project managers view from the roof; where you connect the plumber, the electrician to the house building process – and where you set the project on hold when need be.
Additional Tools
I want to mention a few tools I have in my belt along the way;
XrmToolBox
XrmToolBox connects to CDS and all Dynamics 365 Apps. It has a collection of tools that can be used for customization, configuration, and operation tasks. There are some tools especially for Portals, like the “Portal Code Editor” that I use a lot when creating web templates with custom liquid code. There are some other tools as well:
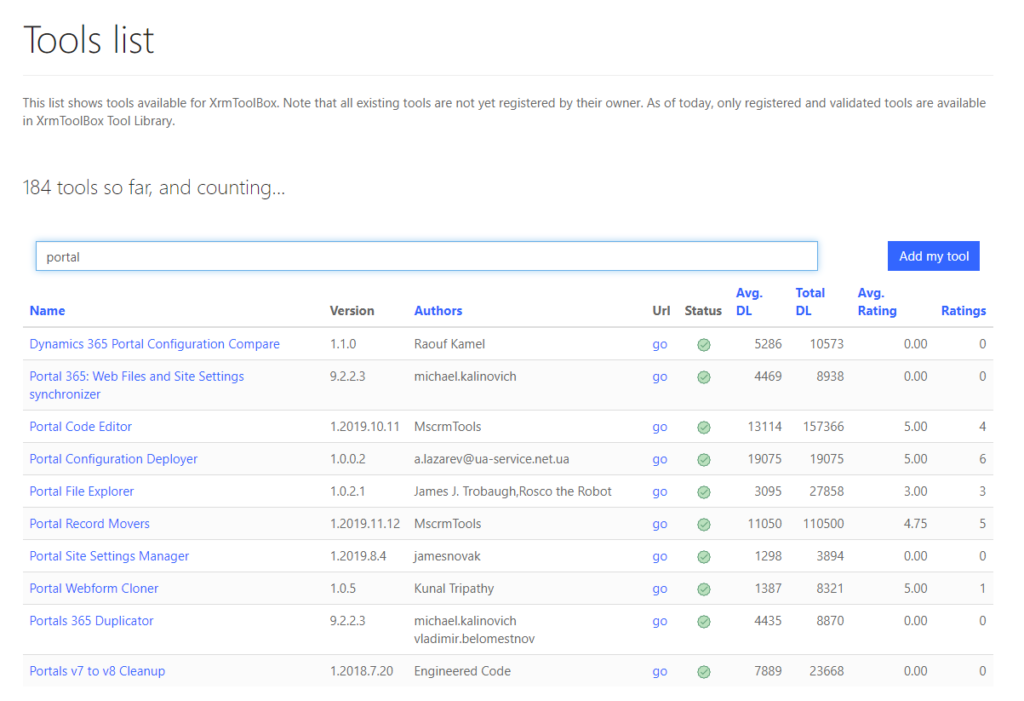
Did you know the XrmToolBox website is a portal?

Connect it to the CDS/Dynamics environment and get direct access to content snippets, web templates and web files. When writing liquid code and working with CDS this is a good developers tool. The Portal Designer now provide much of the same capabilities right within the browser, but sometimes if feels better using a client tool.
VS Code
As a frond end developer at my core and I love SCSS and I work with the files in GIT trough VS Code and build it into a CSS-file that I upload into the portal. I find it best to work with theming and devoping the user interface this way to ensure I get the work connected to DevOps and GIT. In some projects we use Azure Blob Storage to hold the files as well and access the files trough Azure as any other CDN-location.
Microsoft Azure Storage Explorer
On the bigger projects we store all the styling, images and scripts in an Azure Blob Storage. I find it convenient to use Microsoft Azure Storage Explorer and simply drag my updated files into the folders to update them. And – Yes, I know this is not best practice. When we already use DevOps and GitHub there is a short way to setting this up properly. And I will. One day.
Download Microsoft Azure Storage Explorer
Summary
Right, so lets wrap this up. This is the map to configuring Power Apps Portals – the five interfaces you need to know about when diving into the configuration of your portal.
1. Web inline editing
is for front-end designers, editors and content creators that want to make changes to labels, titles and add content. Create blog articles and add page content, no problem – but don’t use this for more advanced site map building or configuration..
2. Portal Designer
is for front-end and configurators building the main structure. The site map and navigation, setting up pages with templates, configuring lists and forms and creating website structure. Main construction with broad strokes. But it will only get you so far – sometimes you need to go deeper into config and development..
3. Portal Management App
is for back-end developers, advanced configurators and administrators. This is where you get your hands dirty and into the details, apply scripts, change site settings and put metadata on forms. Now, the forms and lists themselves are not available for editing here, for that you need CDS..
4. CDS (Common Data Service)
is for advanced configurators and administrators structuring entities, fields, relationships, forms and lists. This is where the data model is set and the main architecture, and this is where your data is stored. CDS is the foundation on which the site i build.
5. Portal Admin
is where administrators can enable PowerBI and SharePoint integration, set the portal in maintenance mode or reset the portal when needed.
Hope this was helpful to those of you who are not yet familiar on the Portal grounds. If you have any comments or contributions please leave a message or comment here in the blog or reach out to me on Twitter @UlrikkeAkerbæk. I am always on the lookout for smart ways to hock my portal, especially when working with SCSS and CSS files, placing scripts in own CDN (content delivery networks).
Until next time, take care and have some fun 😀
Cover Photo by Brandi Redd on Unsplash
[…] We get this done from the backend. Open the Portal Management App from make.powerapps.com. Not sure what the Portal Management App is? Look at my blog post Map to Configuring Power Apps Portals […]
Good day, I’ve tried every which way to get XrmToolbox to connect to power app portals, but i have had no luck. Could you tell me how you connected the tools?
Thanks, so much.
Banyan
Hello Banyan. I connect to XrmToolBox the same was as any other D365 environment with the URL to my environment and my credentials. Try one of these methods: https://www.xrmtoolbox.com/documentation/for-users/connecting-to-an-organization/ Hope it was helpful.
Portals for web editing is very inflexible. There’s no formatting options, such as bullet lists, h1, h2, h3 etc. You cannot even insert links within text. It needs a proper WYSIWYG editor. Very half-baked.
Hello. I felt the same way when I first looked at Power Apps Portals – but when I looked deeper it occurred to me that I was trying to add content in the wrong place. The inline editing experience on the web pages have a rich editor letting you format the content as you see fit. Using the Power Apps Portals Studio these days also give a rich editing experience. Out of the box the semantic structure of the HTML is following the modern web standard (h1, h2, h3, ect.) with default components. Setting up your own web templates will give you the ability to adjust this to fit your needs. Please send me an email at ulrikke@akerbak.com with more details about where you need the rich editor experience. Maybe I can help.
[…] Need a map to all the different administration and configuration interfaces for Power Apps Portals? Look at this blog post for help: https://ulrikke.akerbak.com/2019/11/28/map-to-configuring-power-app-portals/ […]
[…] If you are confused about all the different administration and configuration interfaces for Power Apps Portals look to this blog post where I provide a Map For Configuring Power Apps Portal. […]
[…] Need help finding your way around all the different admin panels for Power Portals? Have a look at one of my previous blog posts that provide a "Map to configuring Power App Portals" […]
[…] process in Power Apps Portals Navigate between records in Power Apps Portals Map to Configuring Power App Portals Send Portal Invitation to Contact with Power Automate Flow Lock Portal behind […]
[…] Map to Configuring Power App Portals […]
[…] Map to Configuring Power App Portals […]